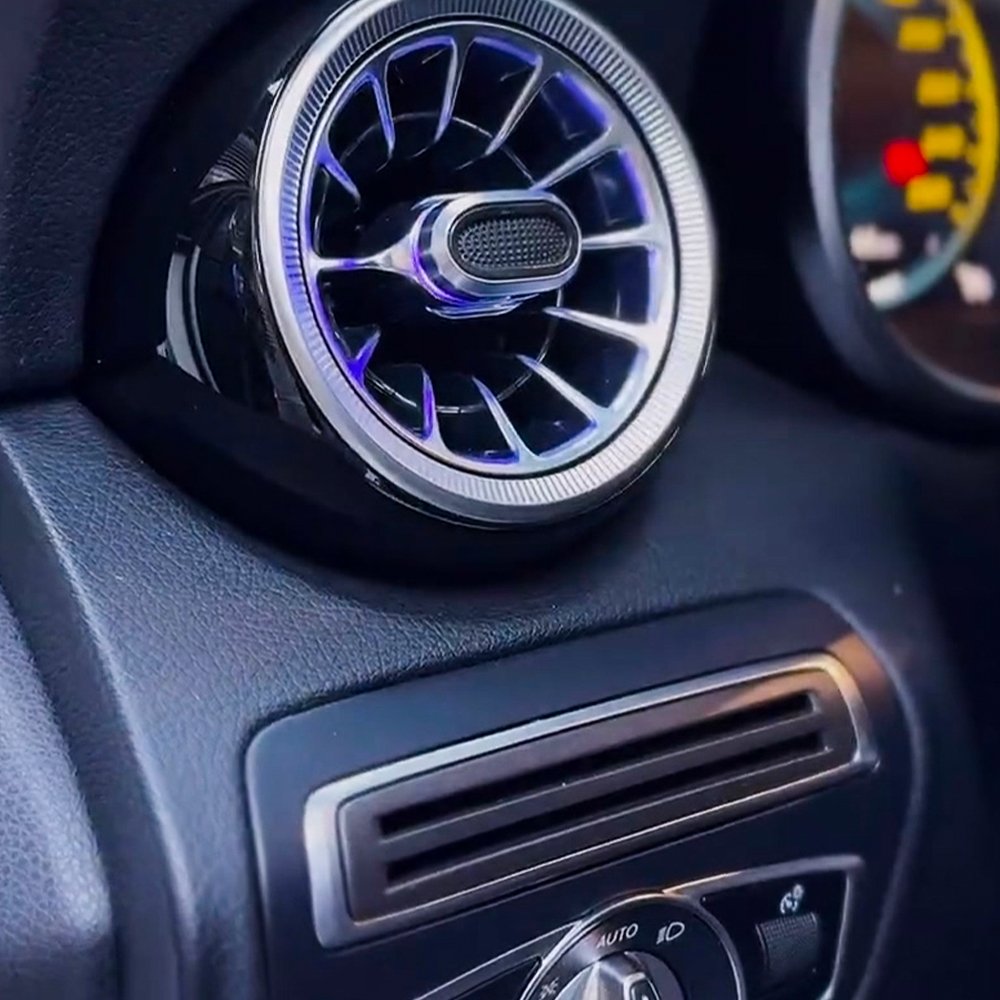
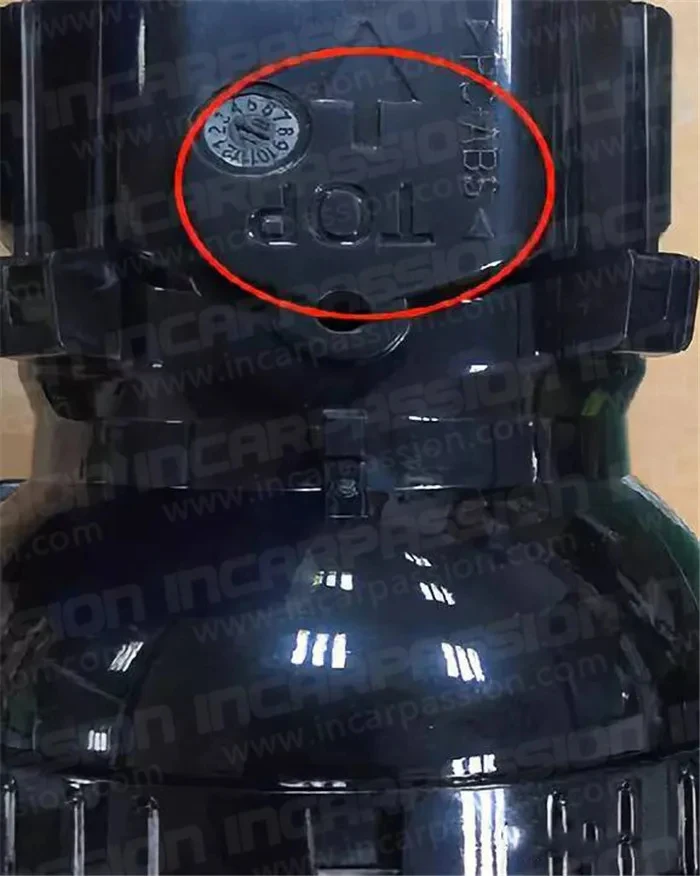
LED Turbo Air Vent Upgrade for Mercedes-Benz C-Class (W205) & GLC (X253)

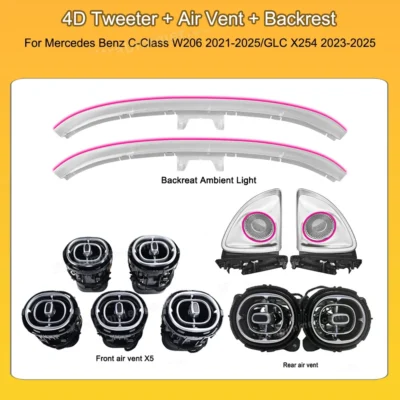
This guide covers the installation for C-Class models (2014–2019) and GLC models (2015–2019). This upgrade replaces the factory vents with ambient-linked turbo-style units.

Why Upgrade to LED Turbo Air Vents?

  • Modern Aesthetics: Replaces the dated factory design with the sleek, aggressive "Turbo" look found in new AMG and S-Class models.

  • Seamless Integration: Fully syncs with your original 3-color or 64-color ambient lighting system. Control colors and brightness directly through your screen menu.

  • Premium Atmosphere: Transforms your dashboard into a high-tech centerpiece, creating a luxurious "first-class" cabin feel during night drives.

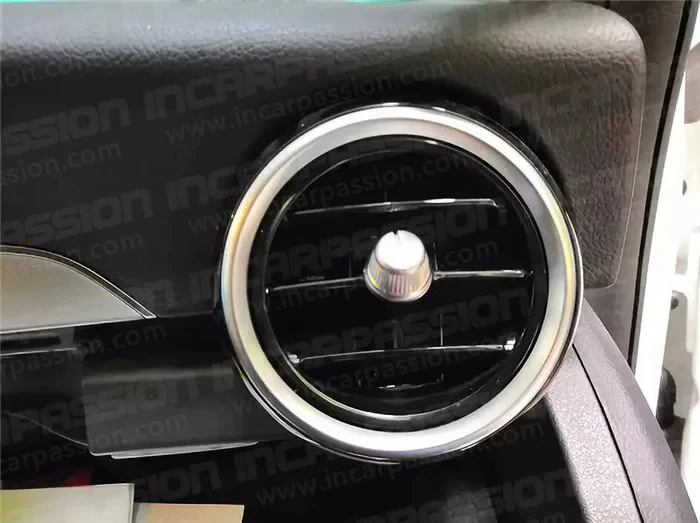
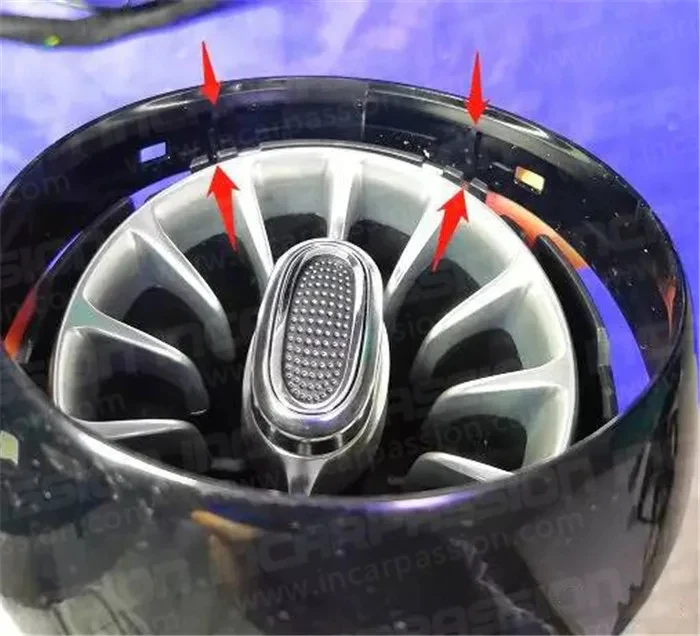
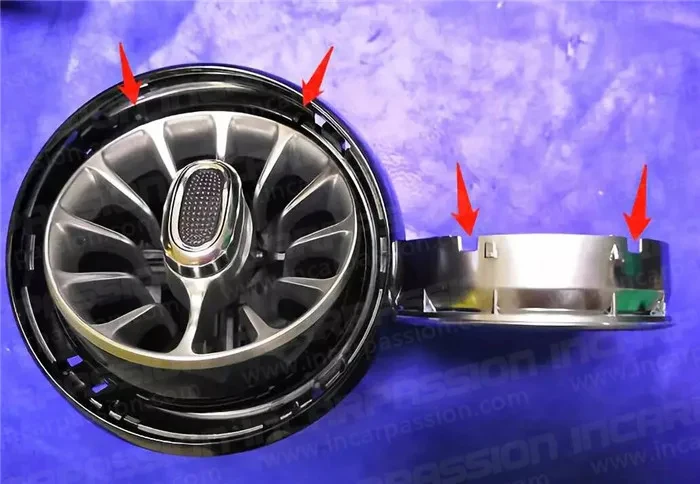
  • OEM-Plus Quality: Designed for a perfect 1:1 fit. The high-quality finish and smooth rotation provide a more tactile, premium feel than the original plastic.

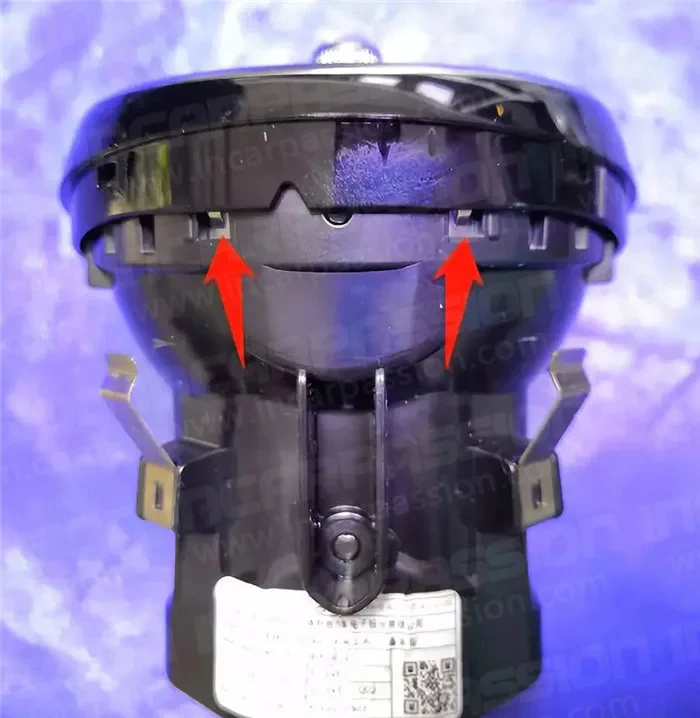
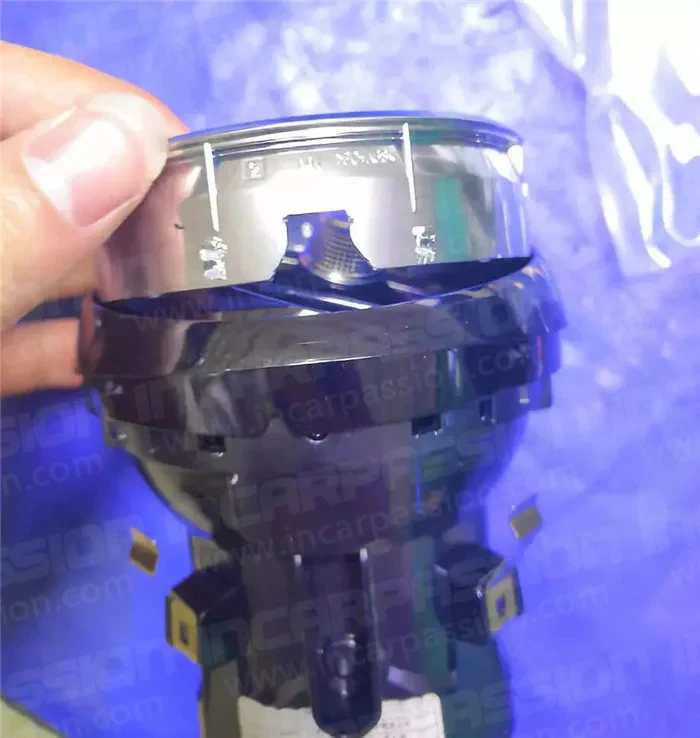
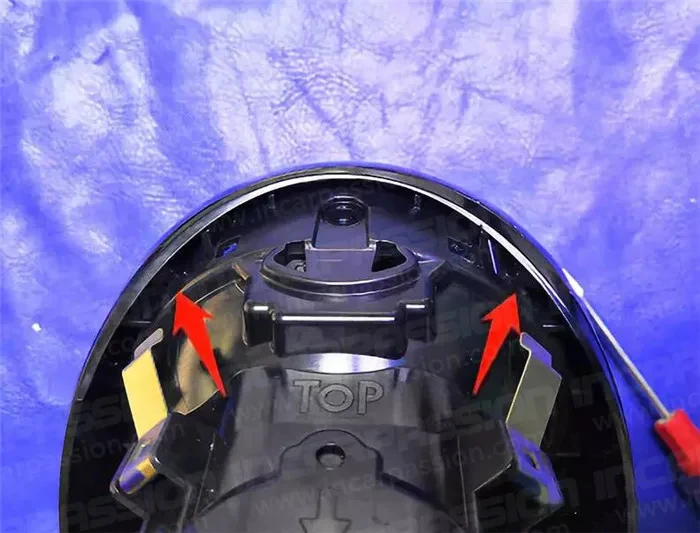
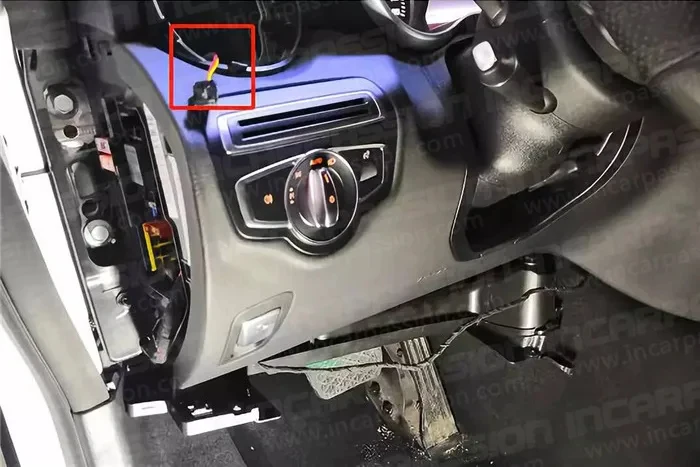
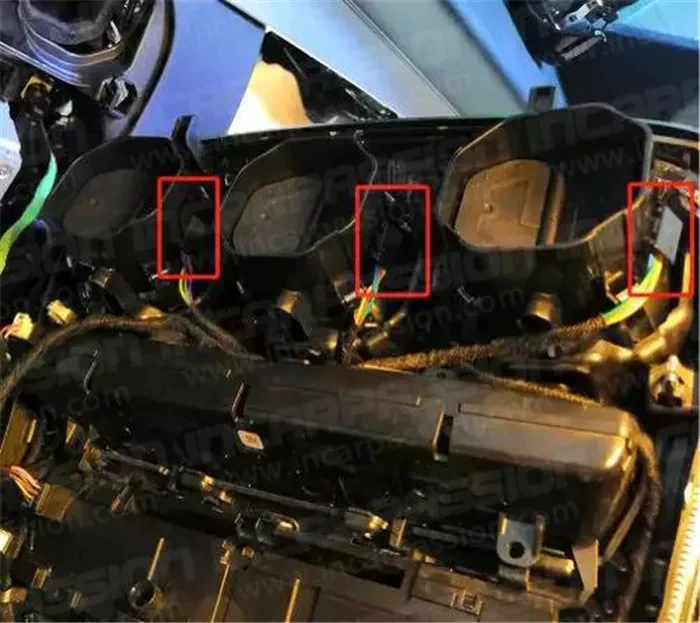
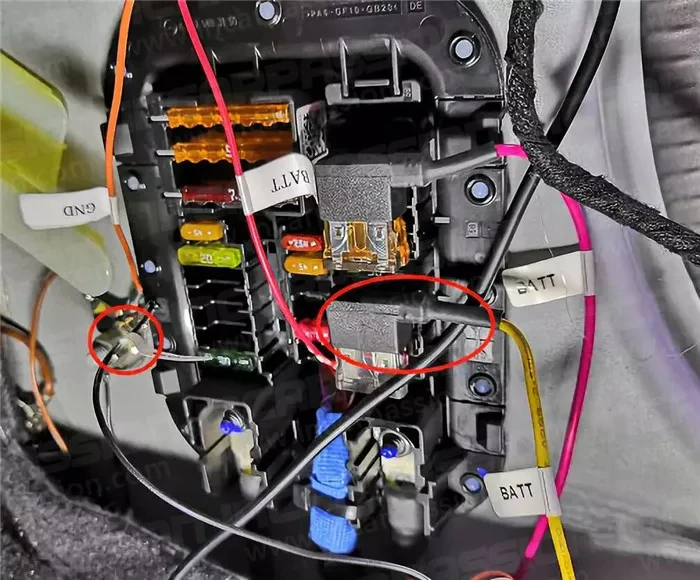
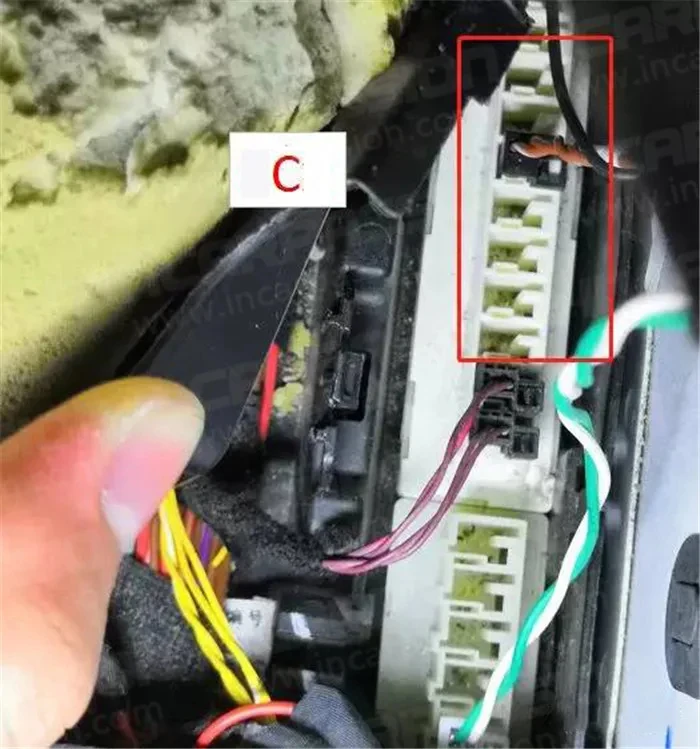
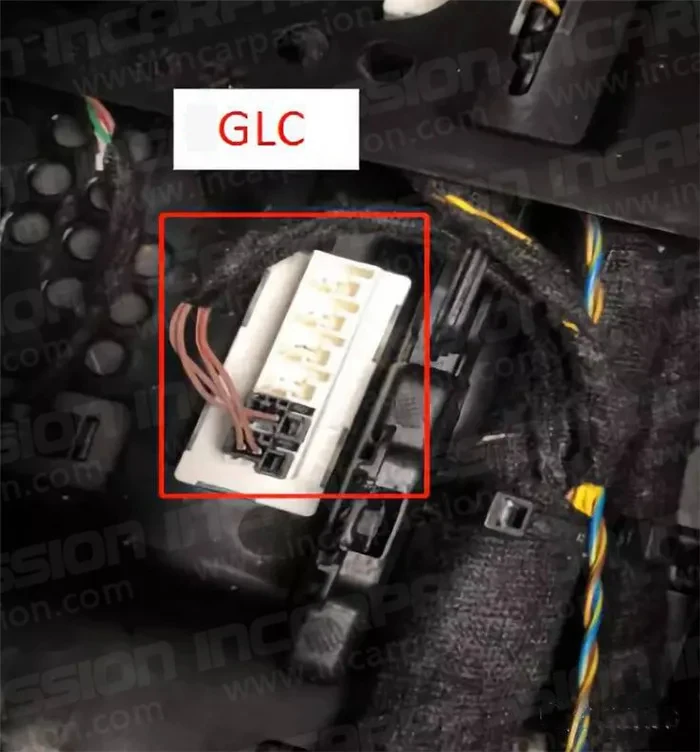
  • Plug & Play: Non-destructive installation with no wire cutting. Preserves your car’s warranty and enhances its resale value.

Tools Required

  • T20 Torx Screwdriver

  • Plastic Pry Tools (Interior trim removal kit)

  • Fish Tape/Guiding Wire (To pull cables through the dash)

Step-by-Step Instructions

1. Remove the Main Console Panel

  • Open the ashtray/storage compartment cover at the bottom of the center console.

  • Locate and remove the two T20 Torx screws found at the top edge of the compartment.

  • Using a plastic pry tool, start from the bottom edge and gently work your way up to release the clips holding the panel in place.

  • Carefully tilt the panel forward and disconnect all electrical plugs (Start/Stop button, hazard lights, etc.).

2. Swap the Air Vents

  • Place the panel face-down on a soft surface.

  • Unscrew the factory vents from the back (usually 3 screws per vent).

  • Press the plastic locking tabs and push the factory vents out toward the front.

  • Snap the new LED Turbo Vents into place and secure them with the original screws.


3. Wiring and Connection

  • Connect the individual vent light cables to the main control harness.

  • Locate the factory ambient light plug (usually found under the passenger side footwell or behind the head unit).

  • Use the Plug & Play adapter to bridge the new harness with the factory system. No wire cutting is required.

  • Test the lights by turning on the ignition to ensure the colors sync with the screen menu.

4. Reassembly

  • Secure all loose wiring with zip ties to prevent rattling (NVH).

  • Reconnect all electronic plugs to the center console panel.

  • Align the top of the panel first, then press down to snap the clips back into place.

  • Reinstall the two T20 screws and close the compartment.

Leave a Reply

Your email address will not be published. Required fields are marked *