


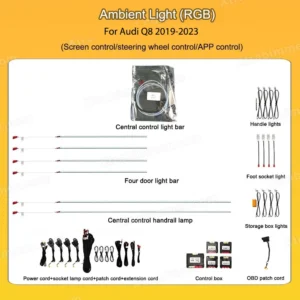
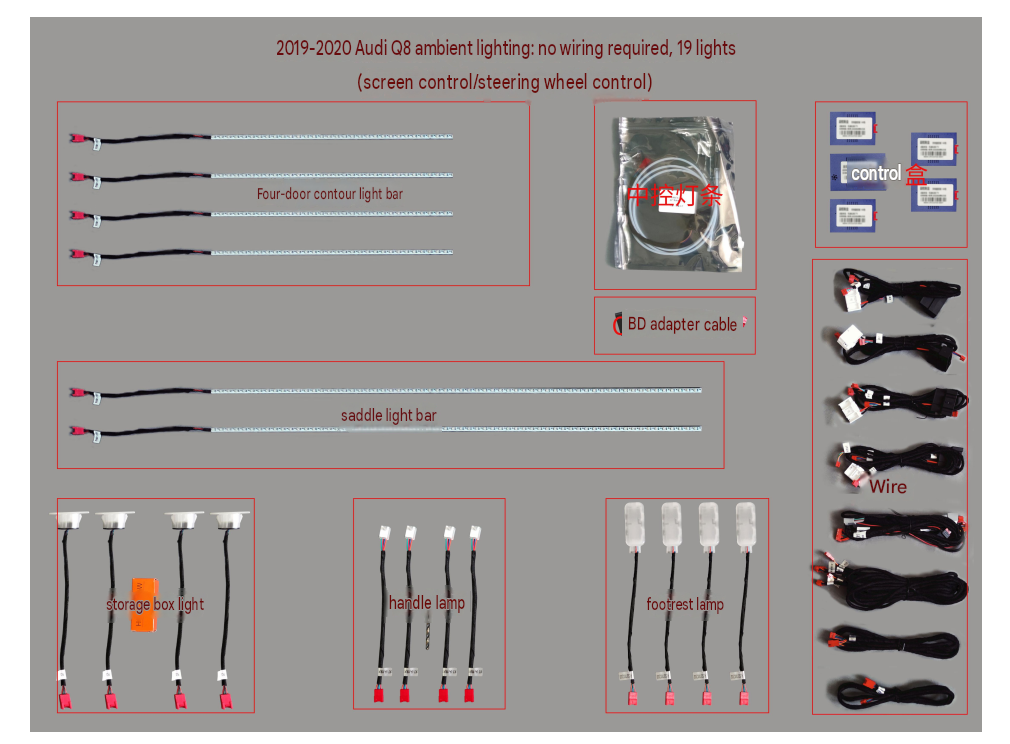
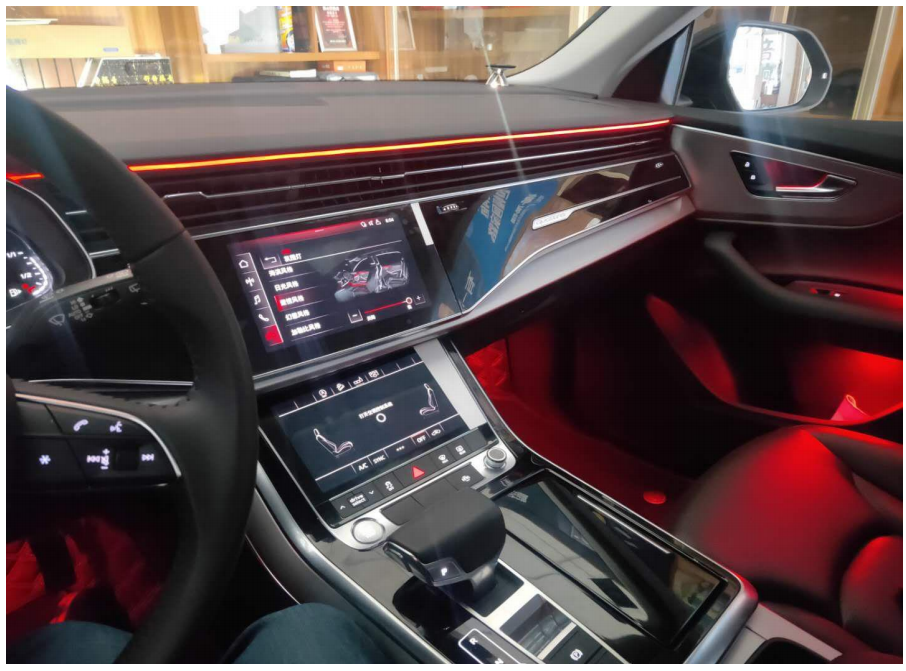
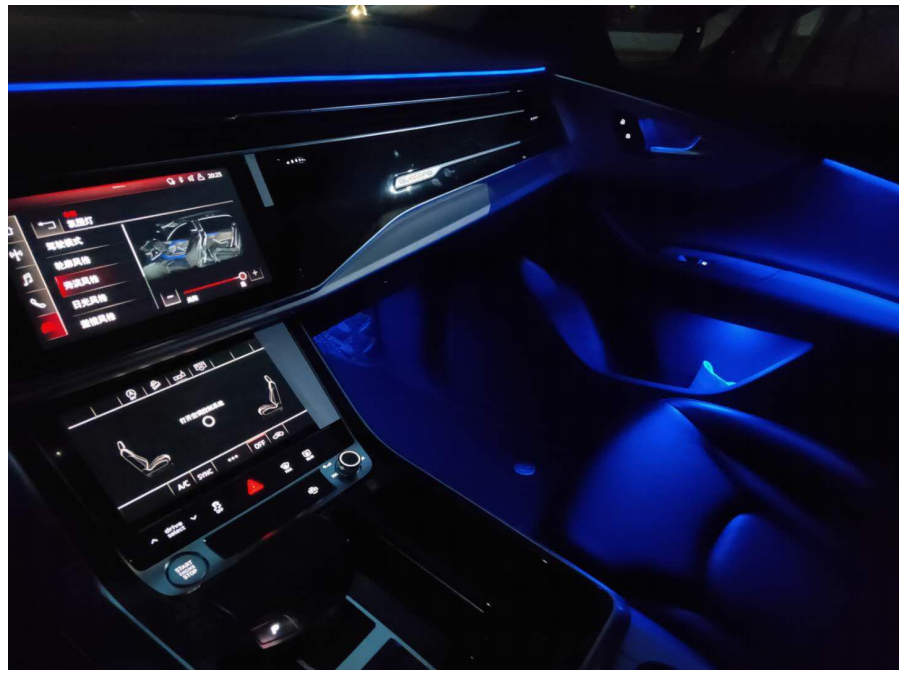
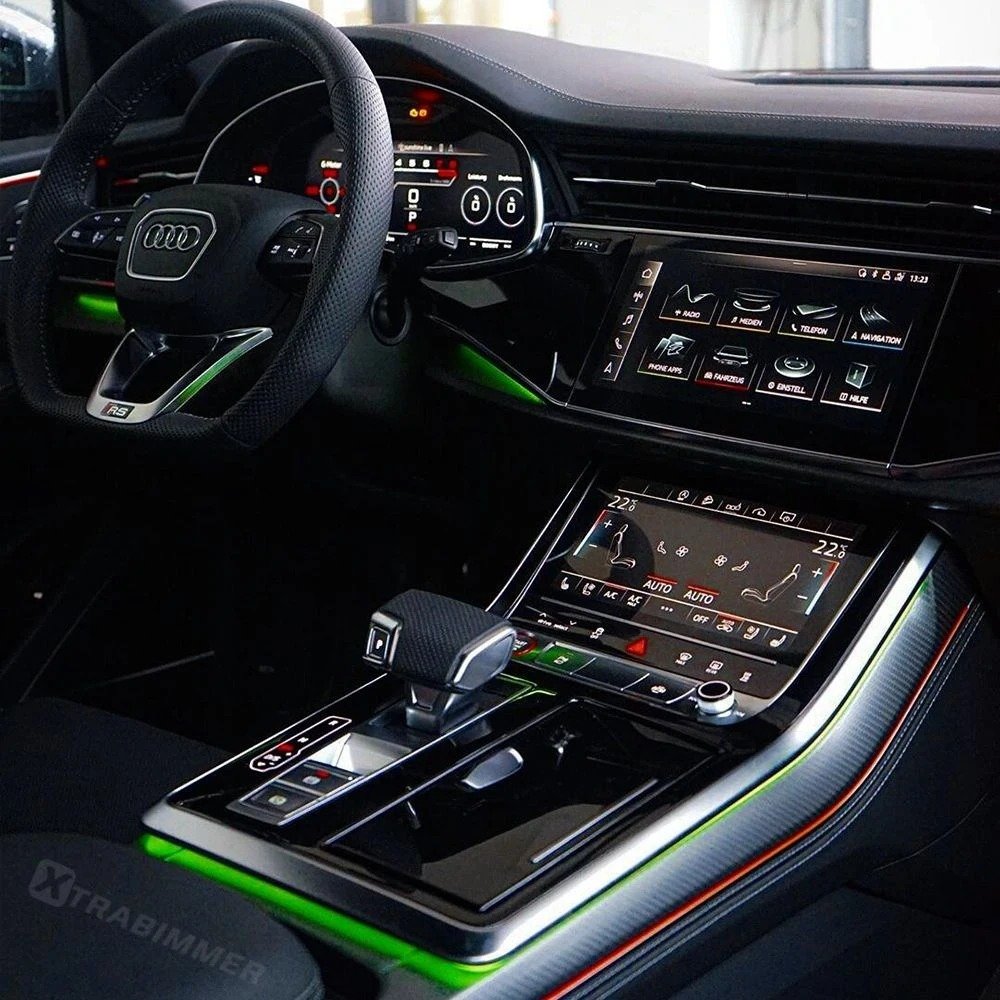
Transform your driving experience and elevate your interior cabin with our premium 30-color OEM-style ambient lighting system for the Audi Q8 (2019+).
Designed for seamless integration with the factory Audi MMI interface and steering wheel controls, this ambient light kit provides rich, vibrant dual-zone color illumination without compromising original vehicle wiring. Whether you are a professional retrofitter or an experienced DIY enthusiast, this comprehensive step-by-step guide walks you through the entire installation process—from ECU flashing and wire routing to full system calibration.
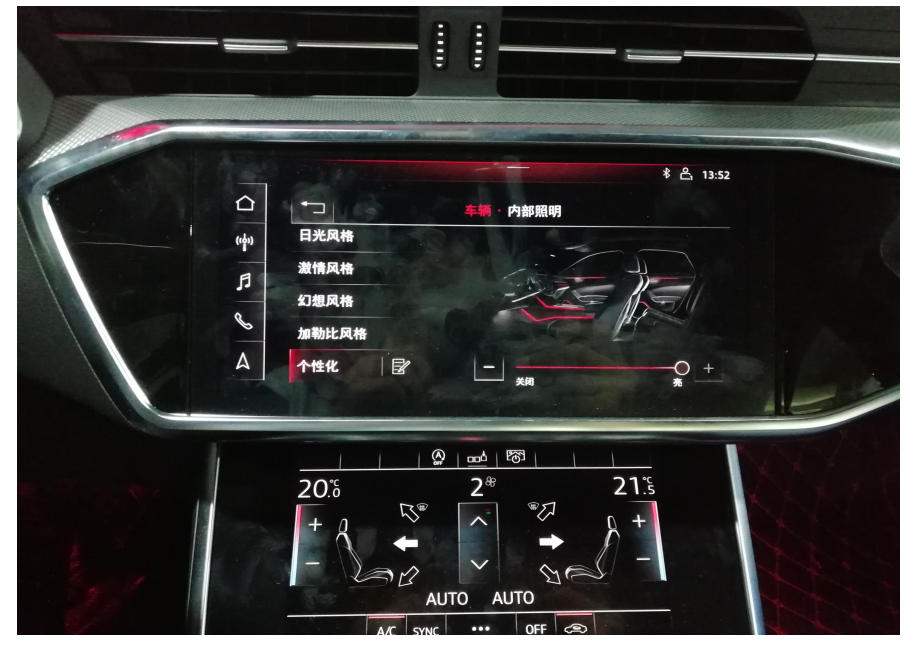
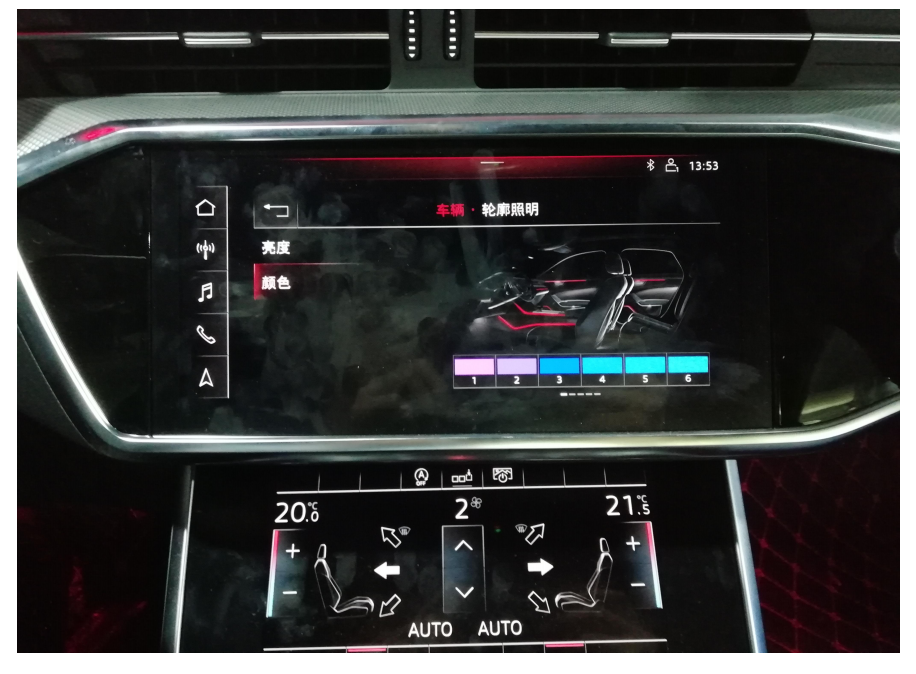
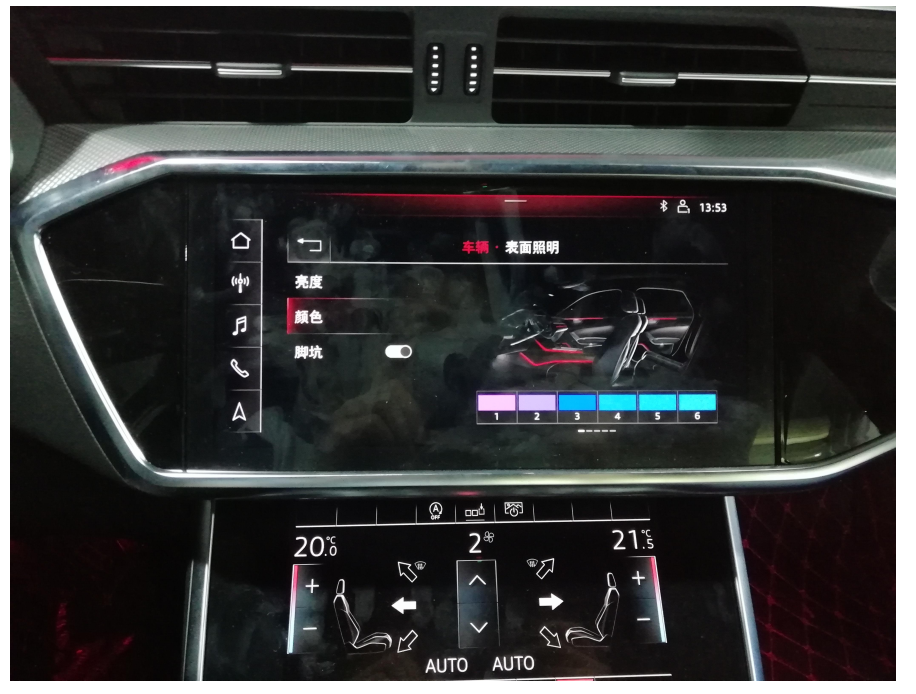
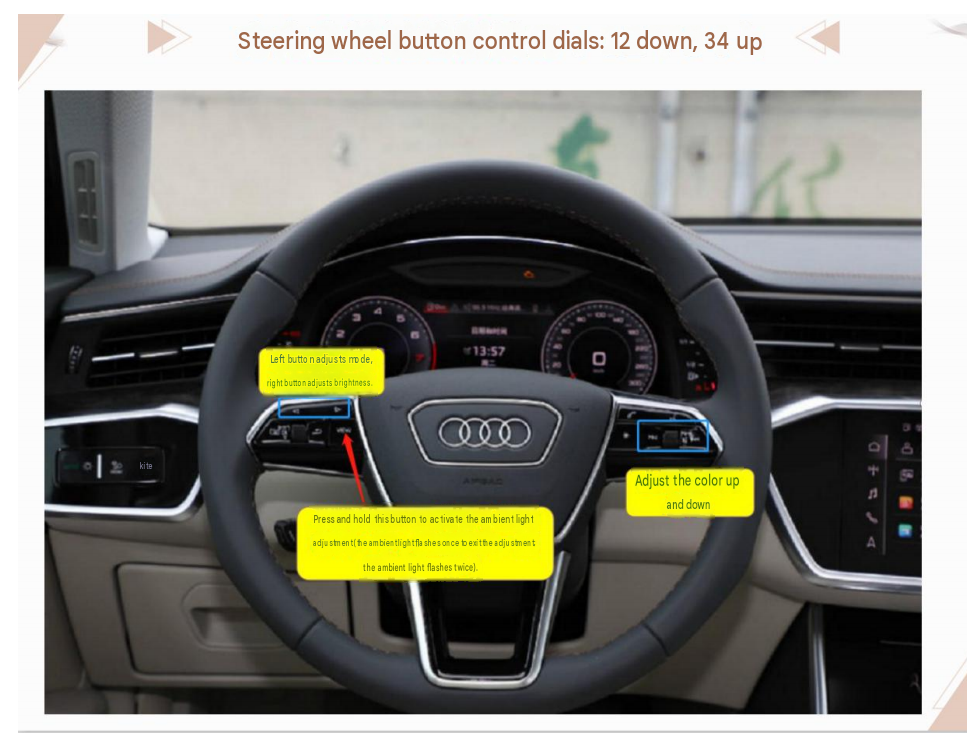
Original OEM Screen Control (32-Color Mode):
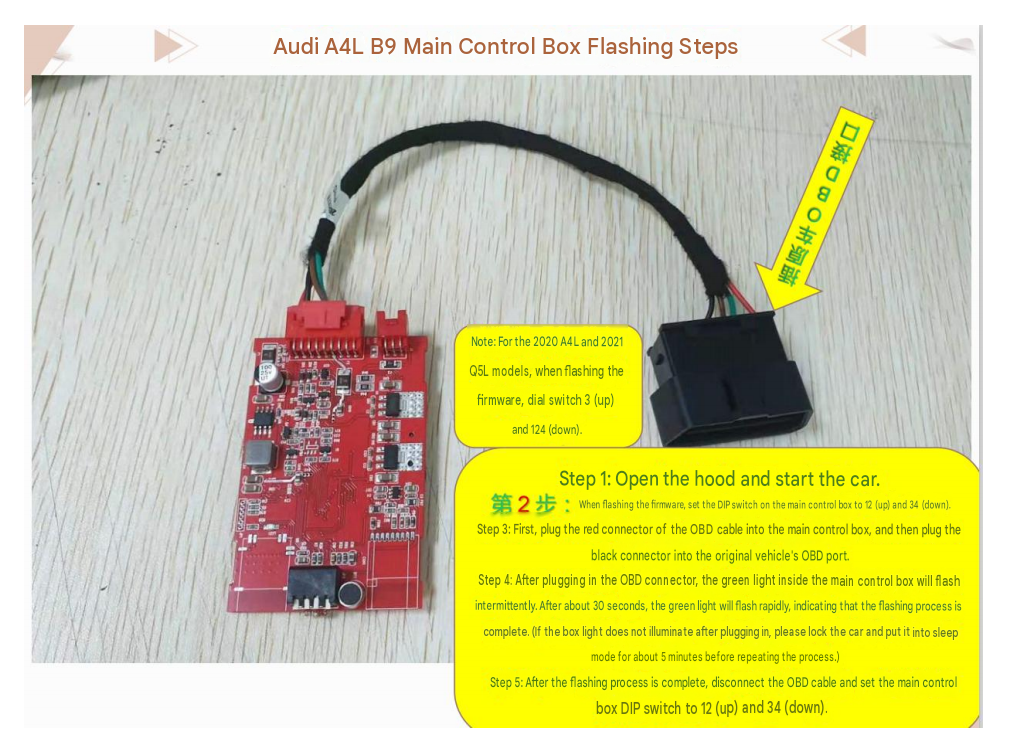
DIP Switch Configurations:
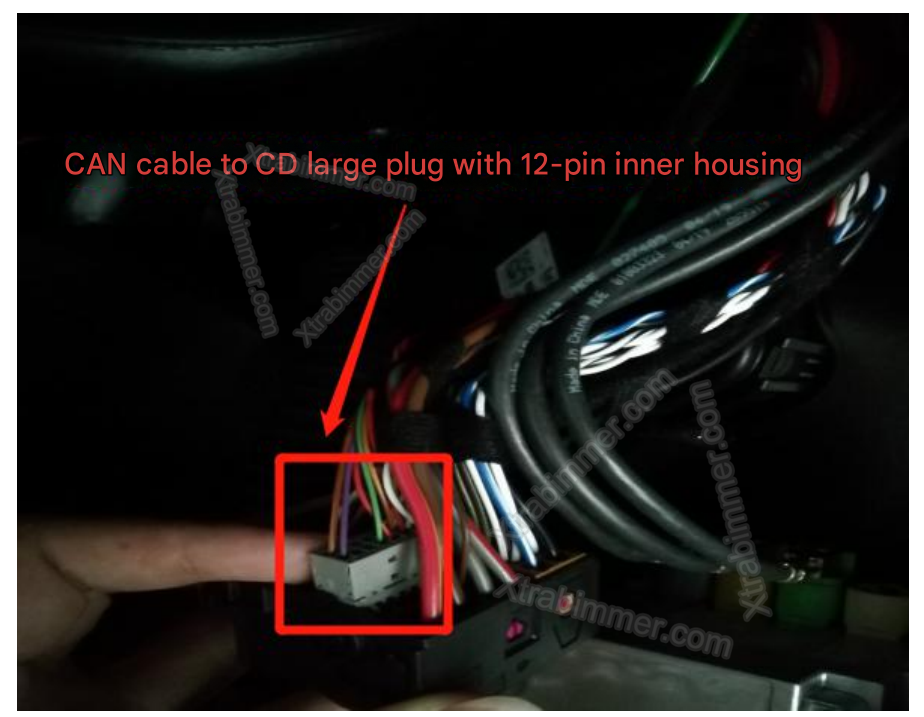
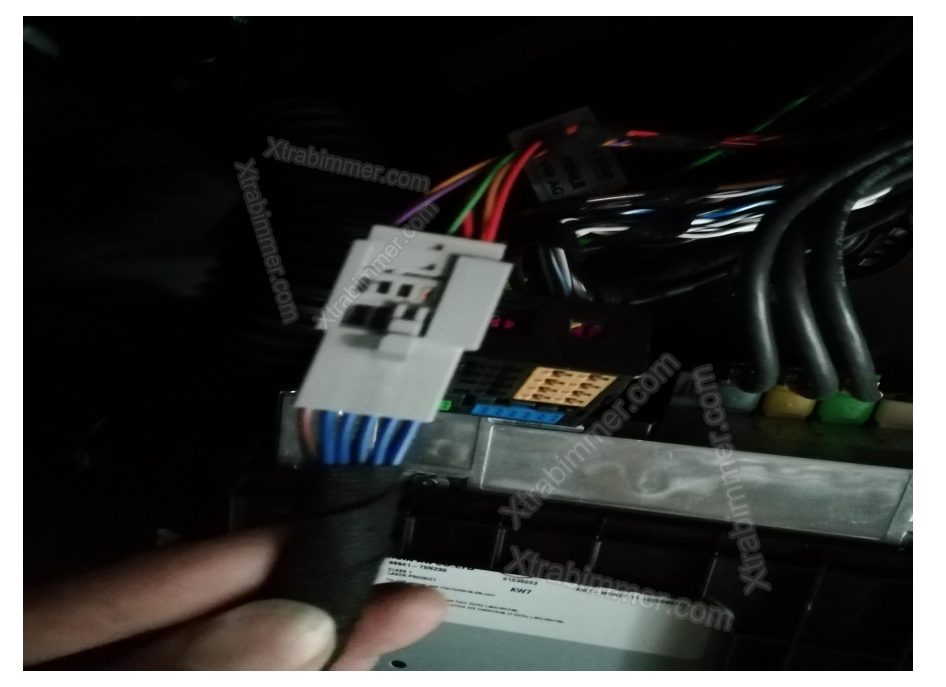
Dismantle the passenger side glove box compartment. Route the main power harness and connect the CAN plug of the ambient main control module in-line with the 12-pin small plug inside the original CD main head unit plug.
Connect the Red wire to 12V constant or ACC fuse (B+ / ACC) and the Black wire to ground (chassis earth).
Step 2
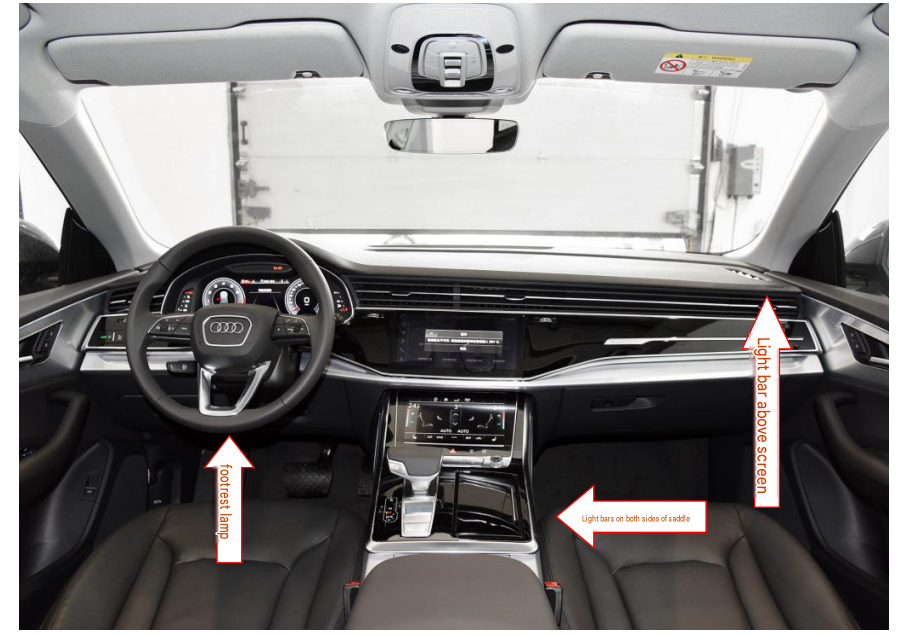
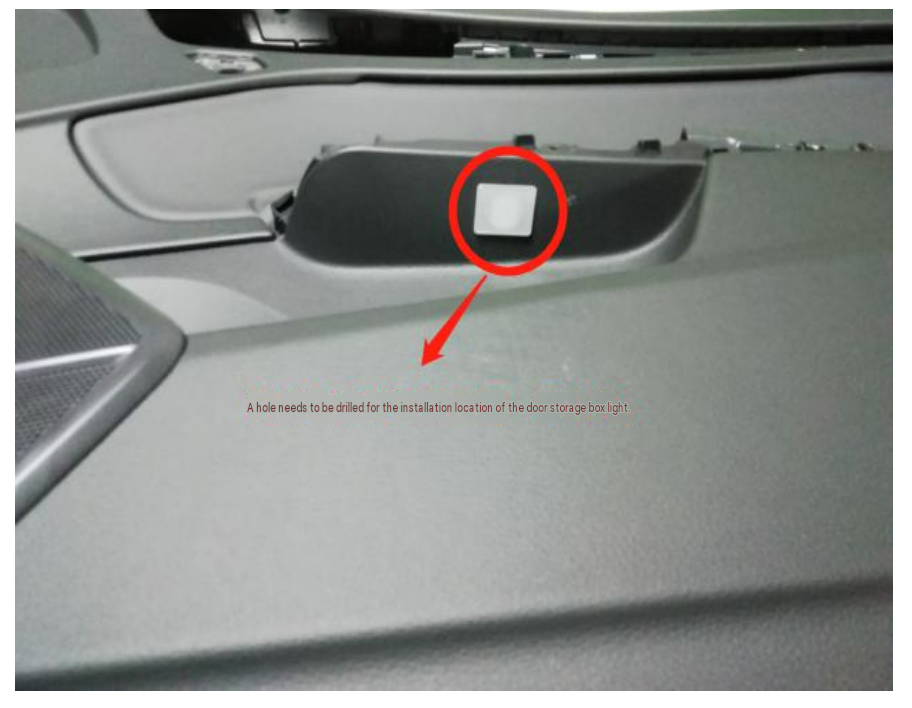
Mount the ambient lighting components in the interior center section:
Step 3
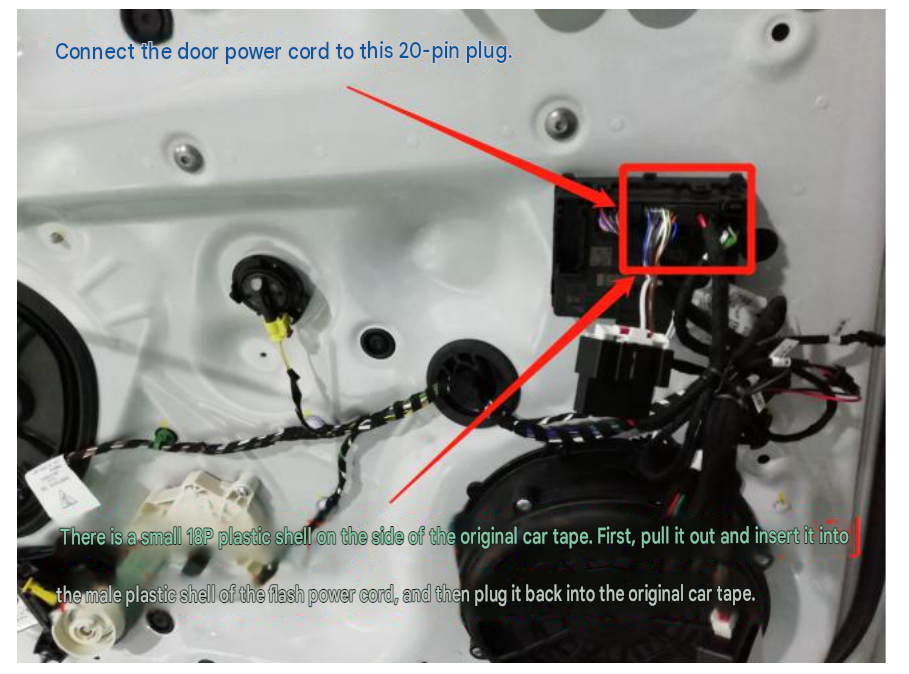
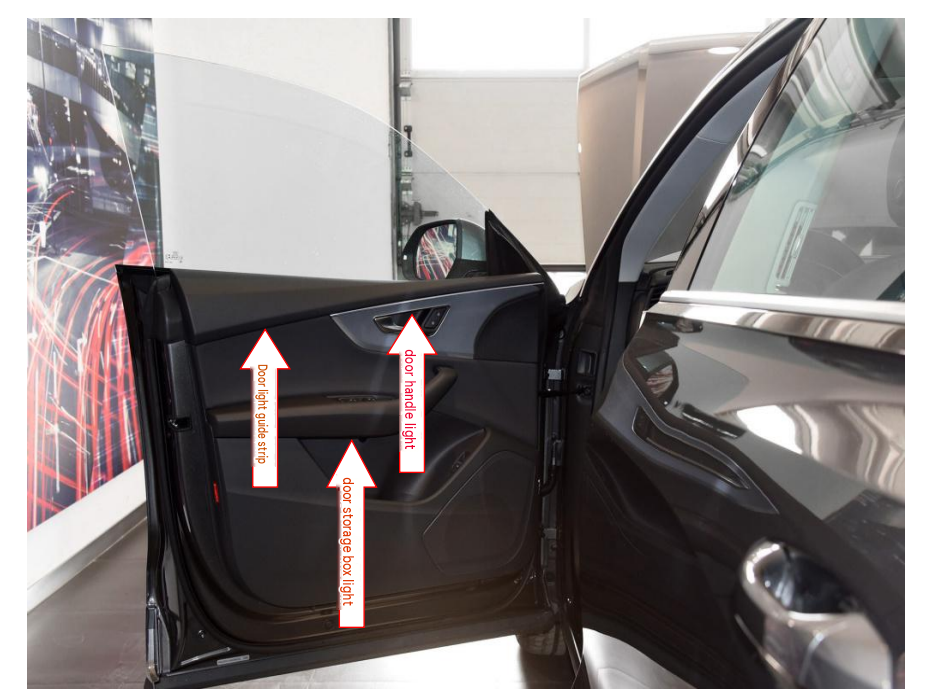
Connect the door module power harness to the original 20-pin plug inside the driver and passenger door panels.
After successful programming, access ambient lighting settings via the center screen:
Vehicle ➔ Lighting & Vision ➔ Interior Lighting ➔ Individual ➔ Surface & Contour Lighting.
| Issue / Symptom | Possible Cause | Recommended Action |
|---|---|---|
| Lights fail to power on | Loose or incorrect power harness connection | Check power connections, ground point, and vehicle fuse box connection. |
| Dim light strip illumination | Light strip not fully seated in light head engine | Push and re-seat the light guide firmly into the light head socket. |
| Unusual color display | Pinched wire or short circuit | Inspect cable routes along door hinges and trim clips for pinched lines. |
| Control menu unresponsive | Incorrect DIP switch setup or incomplete flash | Verify DIP switch settings and repeat the OBD flashing procedure. |