BMW X3 G01 & X4 G02 Ambient Lighting Upgrade
Step-by-step guide to install ambient lighting in BMW X3 (G01) & X4 (G02) — wiring, soldering, controller setup, CD-panel controls.
Model & Difficulty
BMW X3 (G01) / X4 (G02) | Medium (soldering & programming required) | 2–4 hours
Tools & Parts
- 4P power cord & knob adapter
- Ambient LED strips ×4
- Central controller / screen & dial
- Soldering iron, solder, cutters, heat-shrink tubing, zip ties, insulating tape
- Programming cable & laptop
Installation Steps
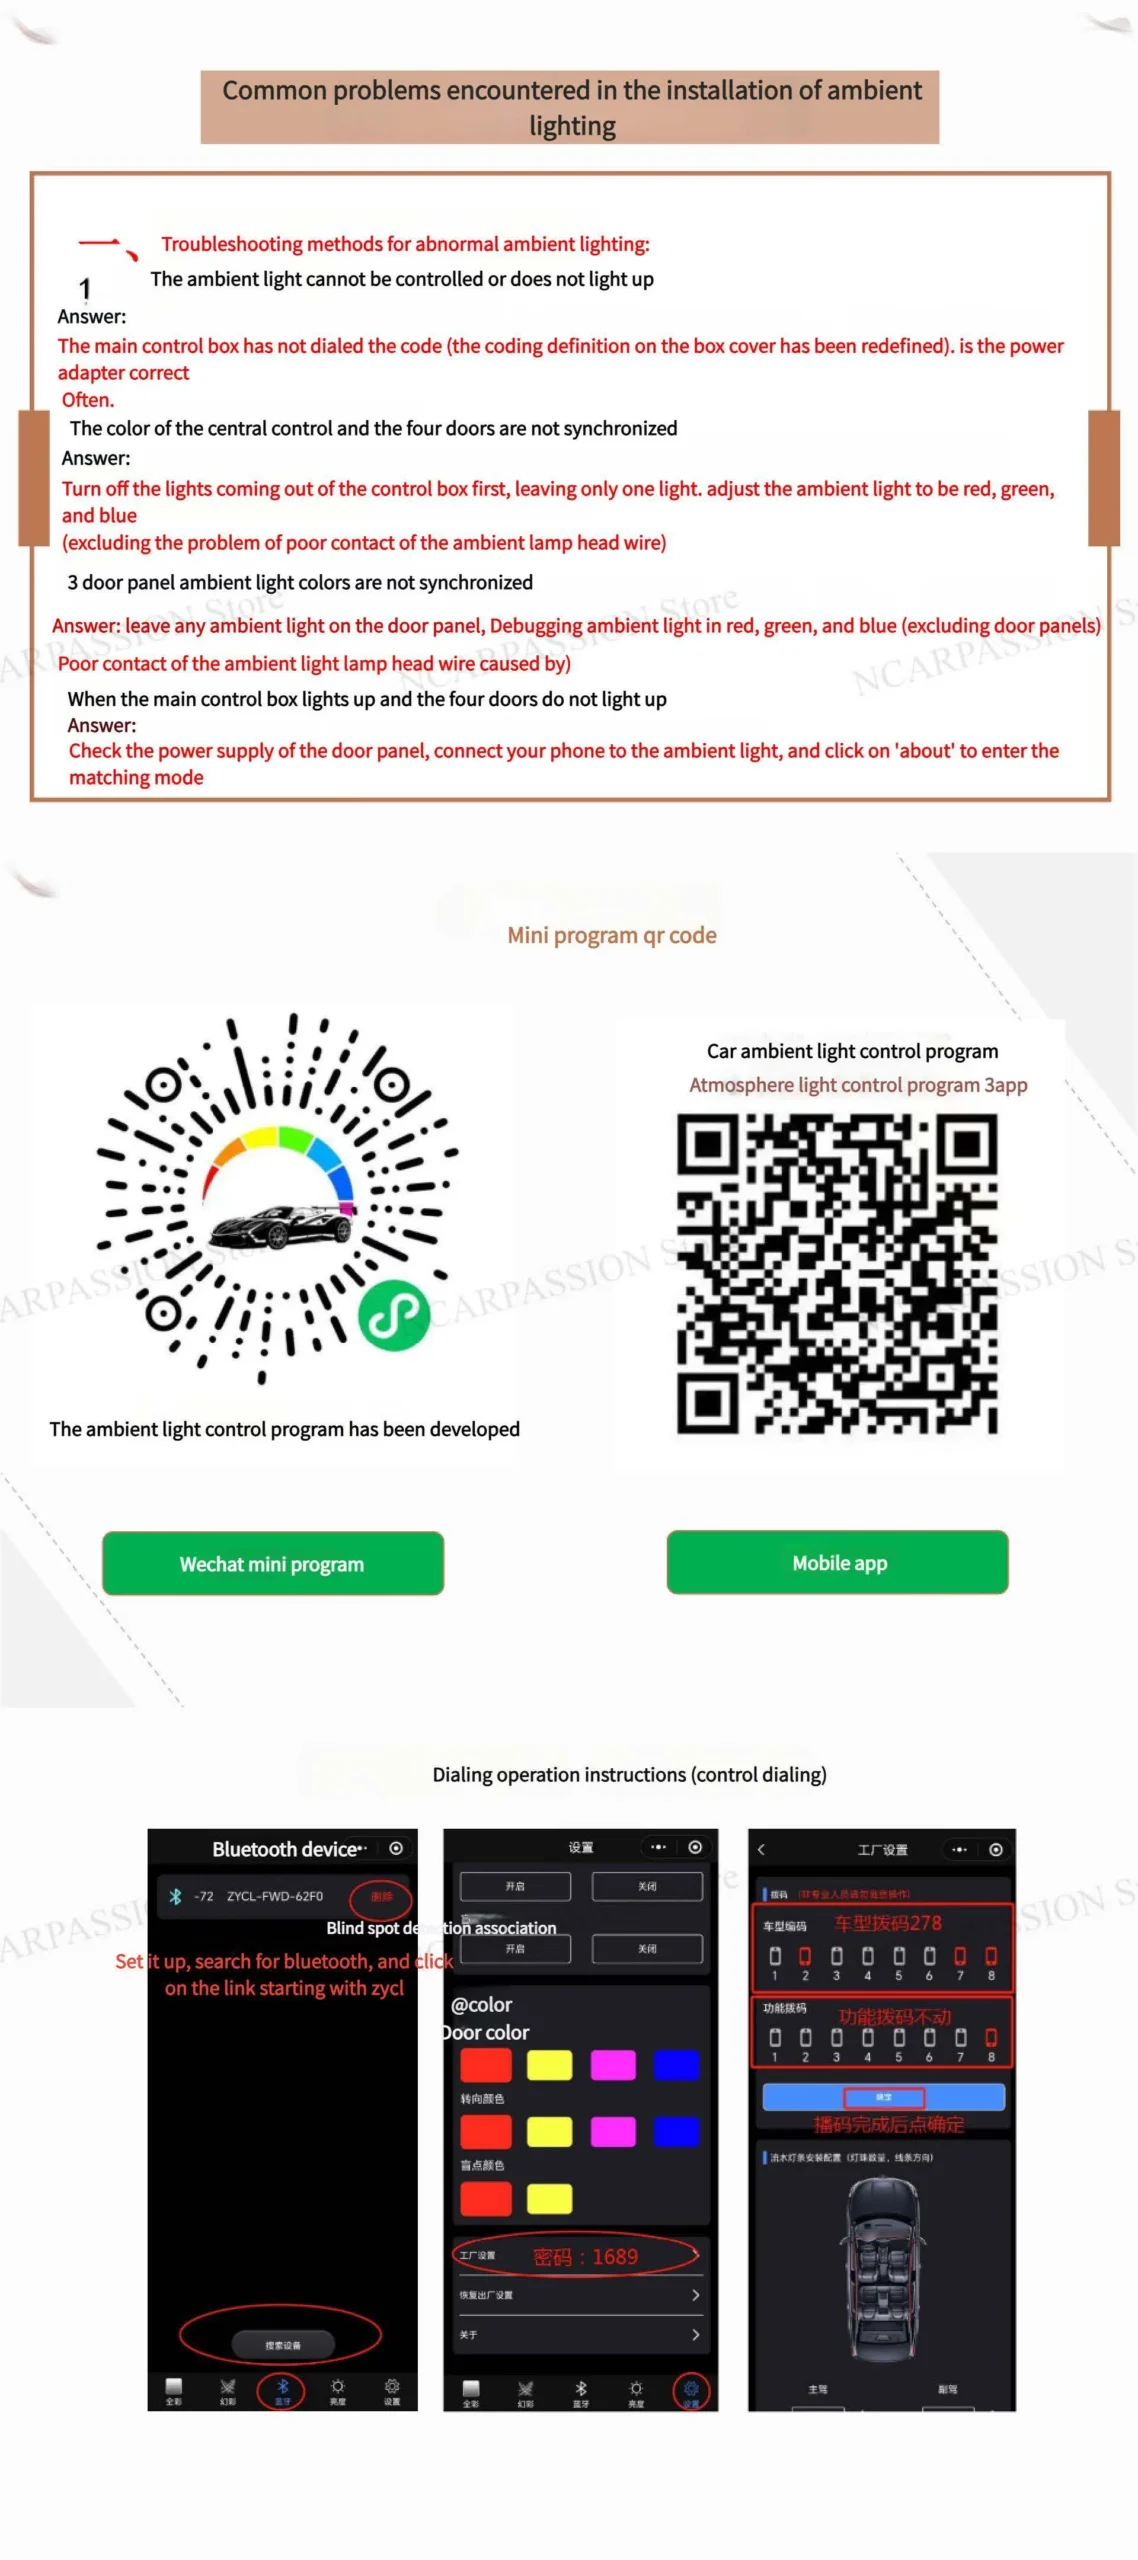
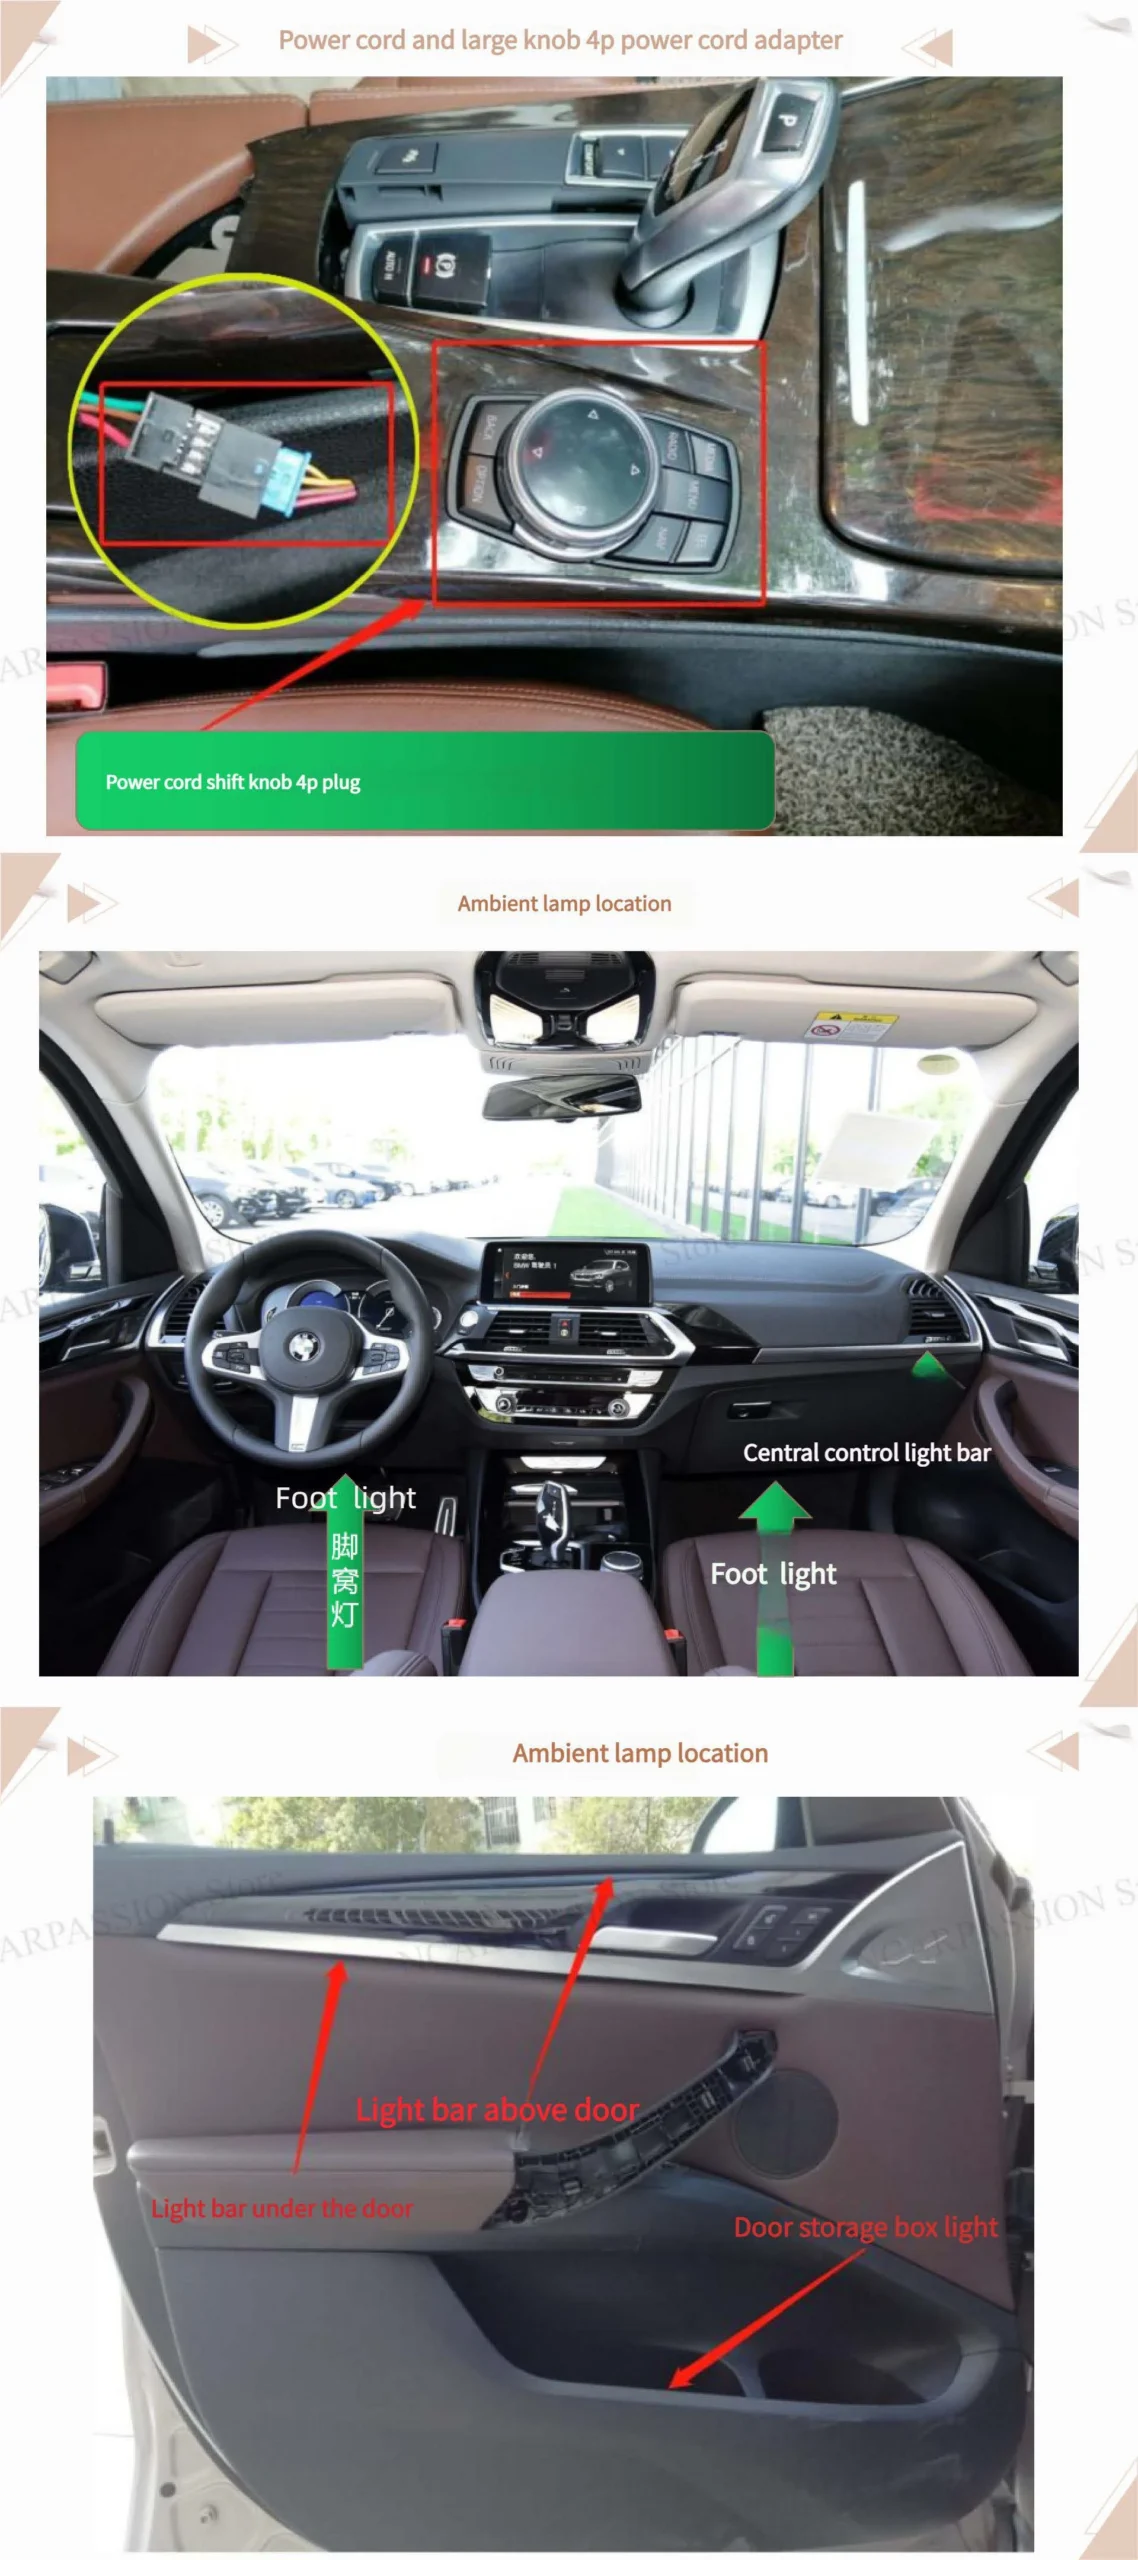
- Locate 4P power adapter & control knob; confirm lamp locations.
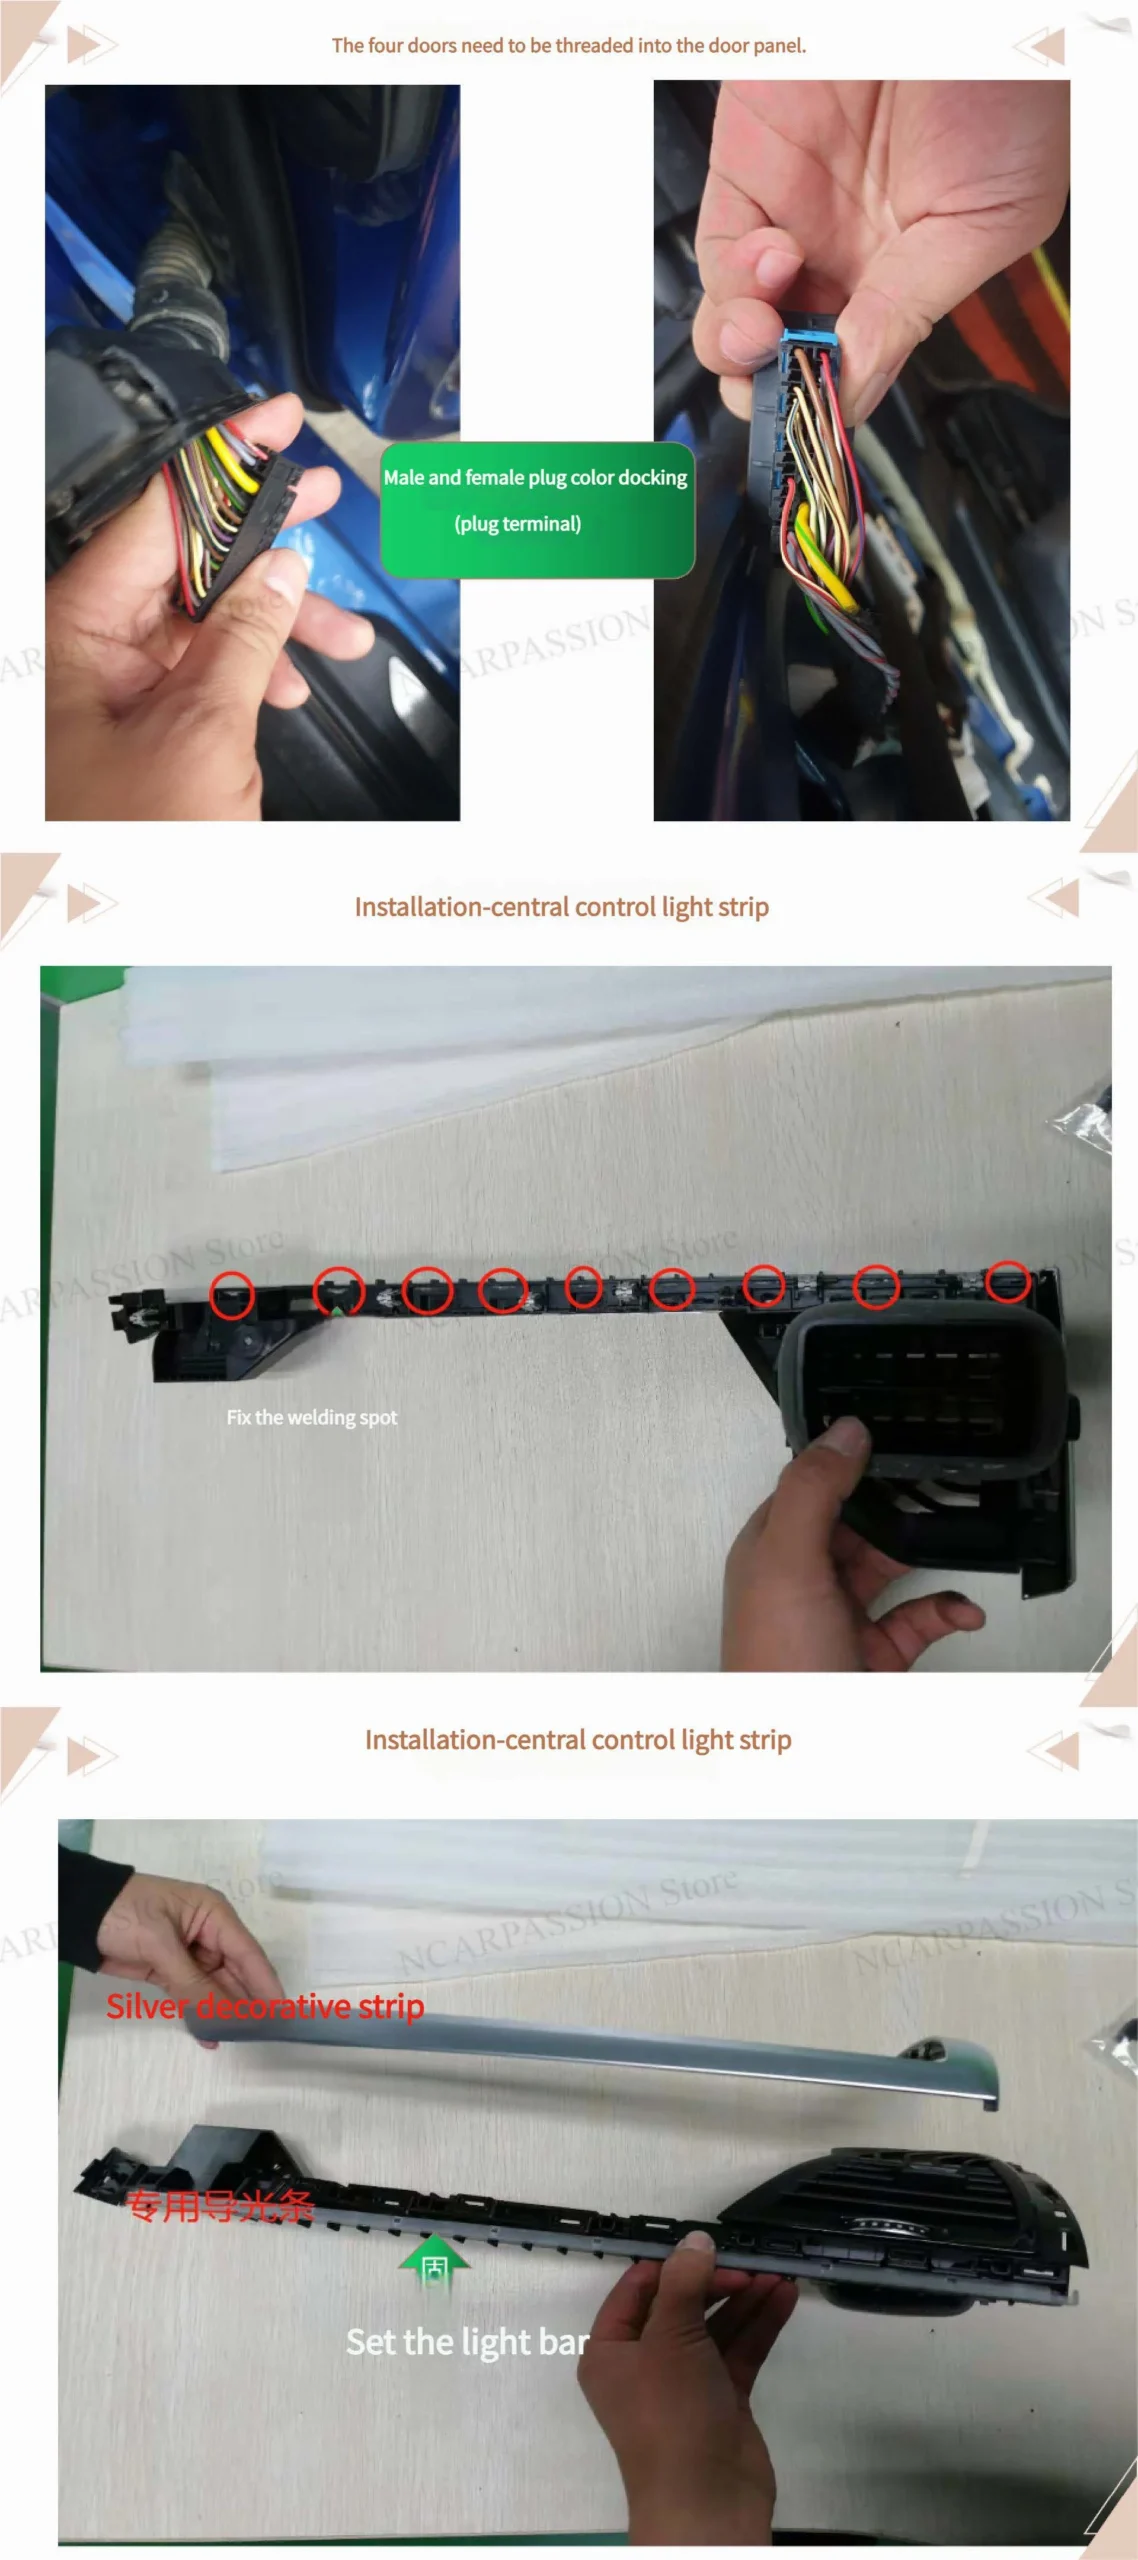
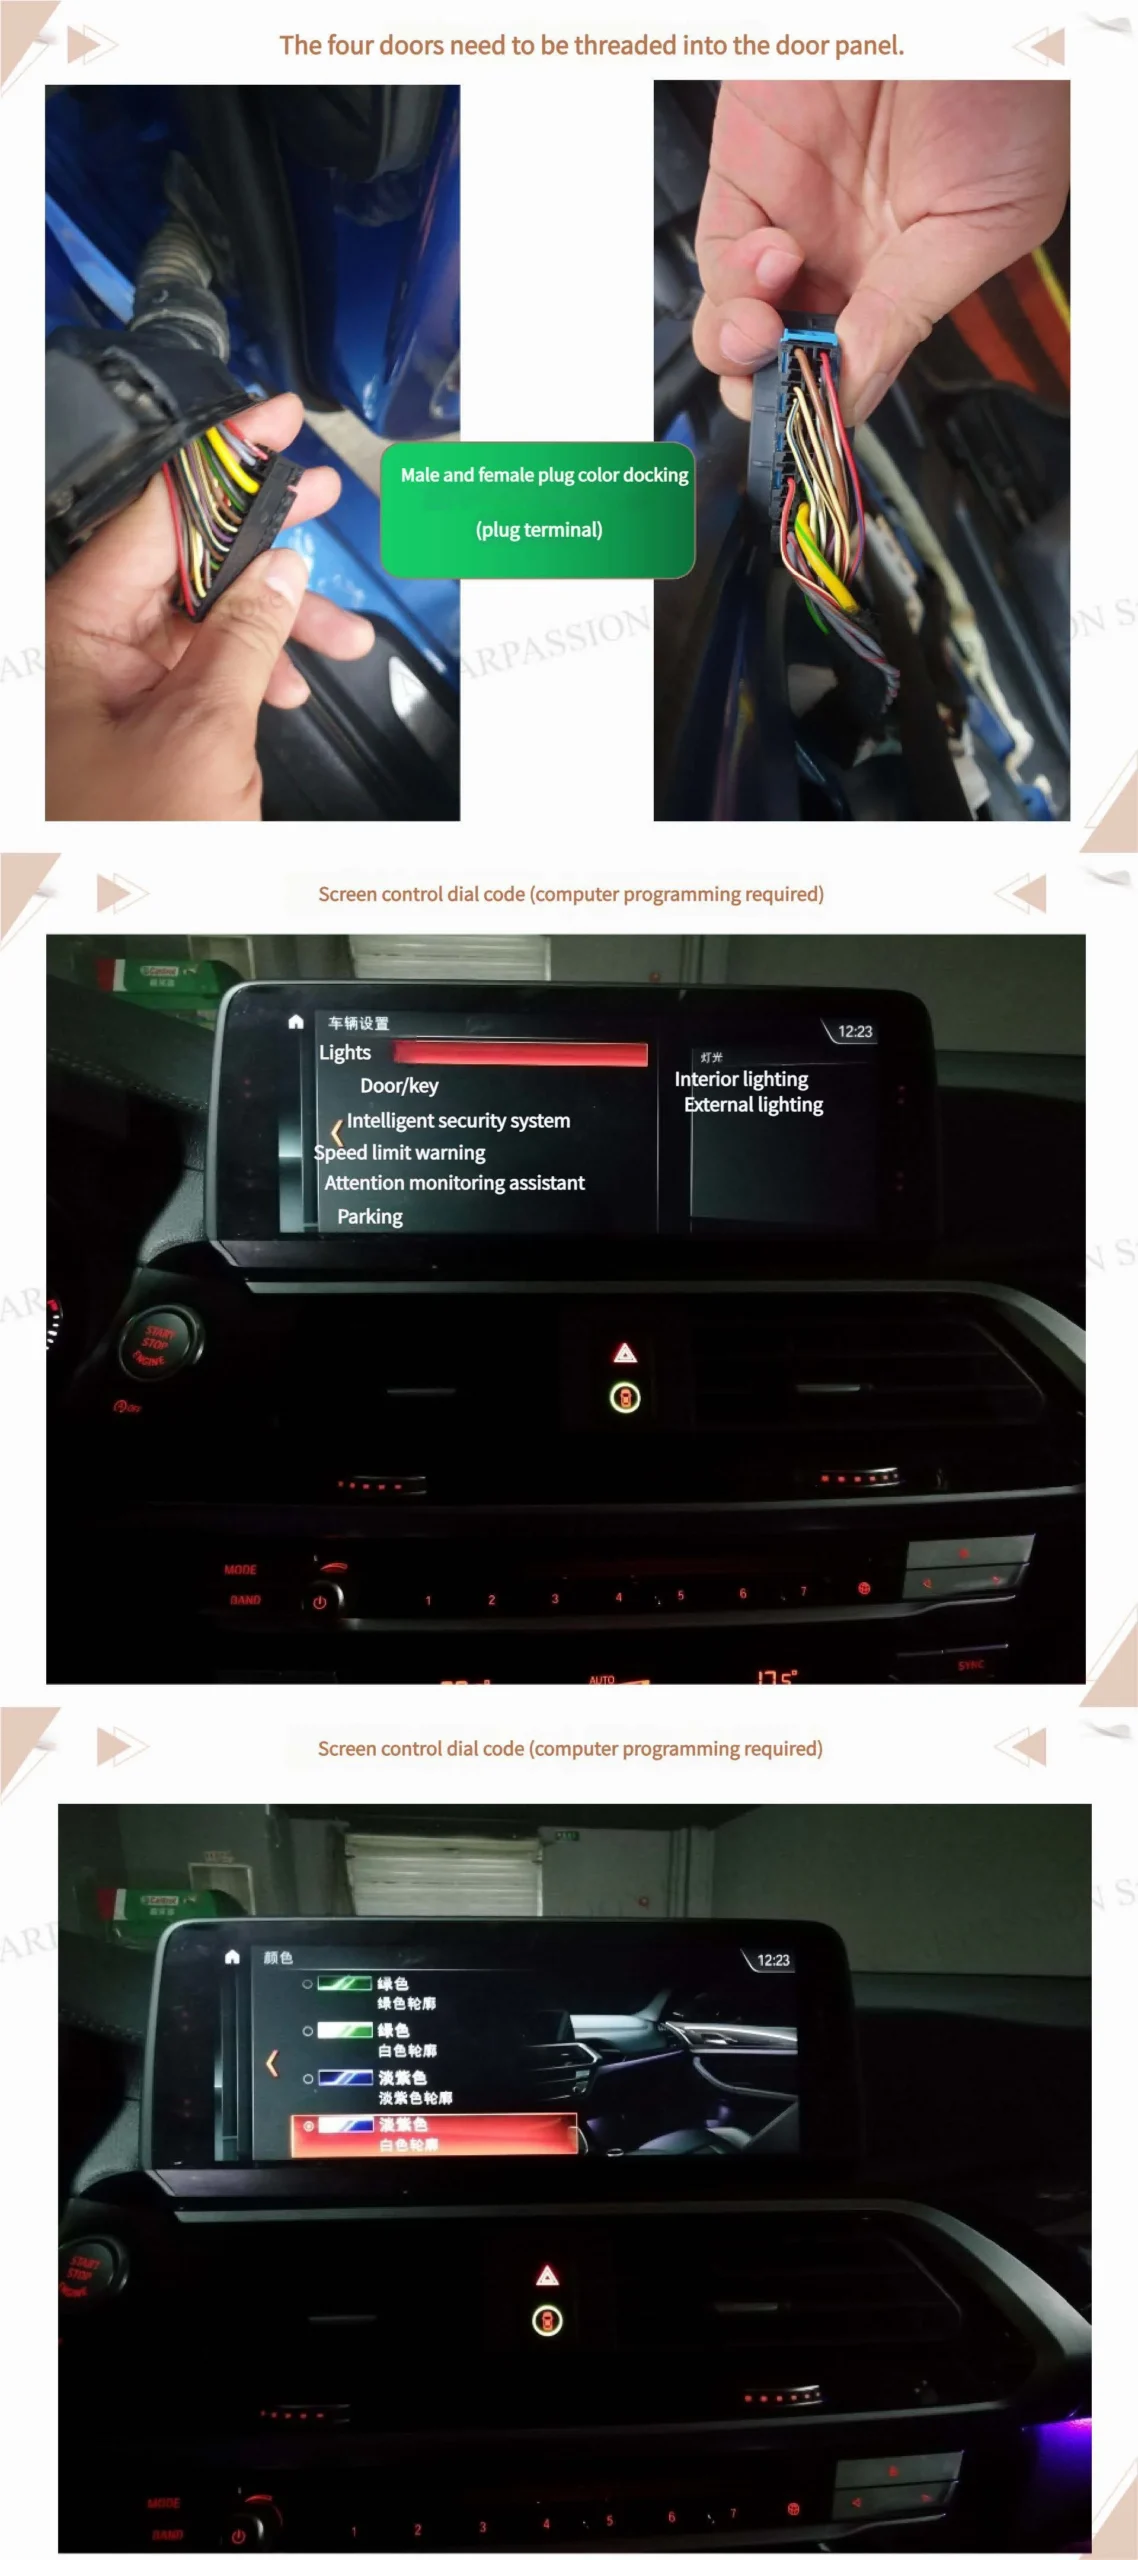
- Thread wiring through all door panels, leave slack for movement.
- Match male/female plugs by color; ensure secure connection.
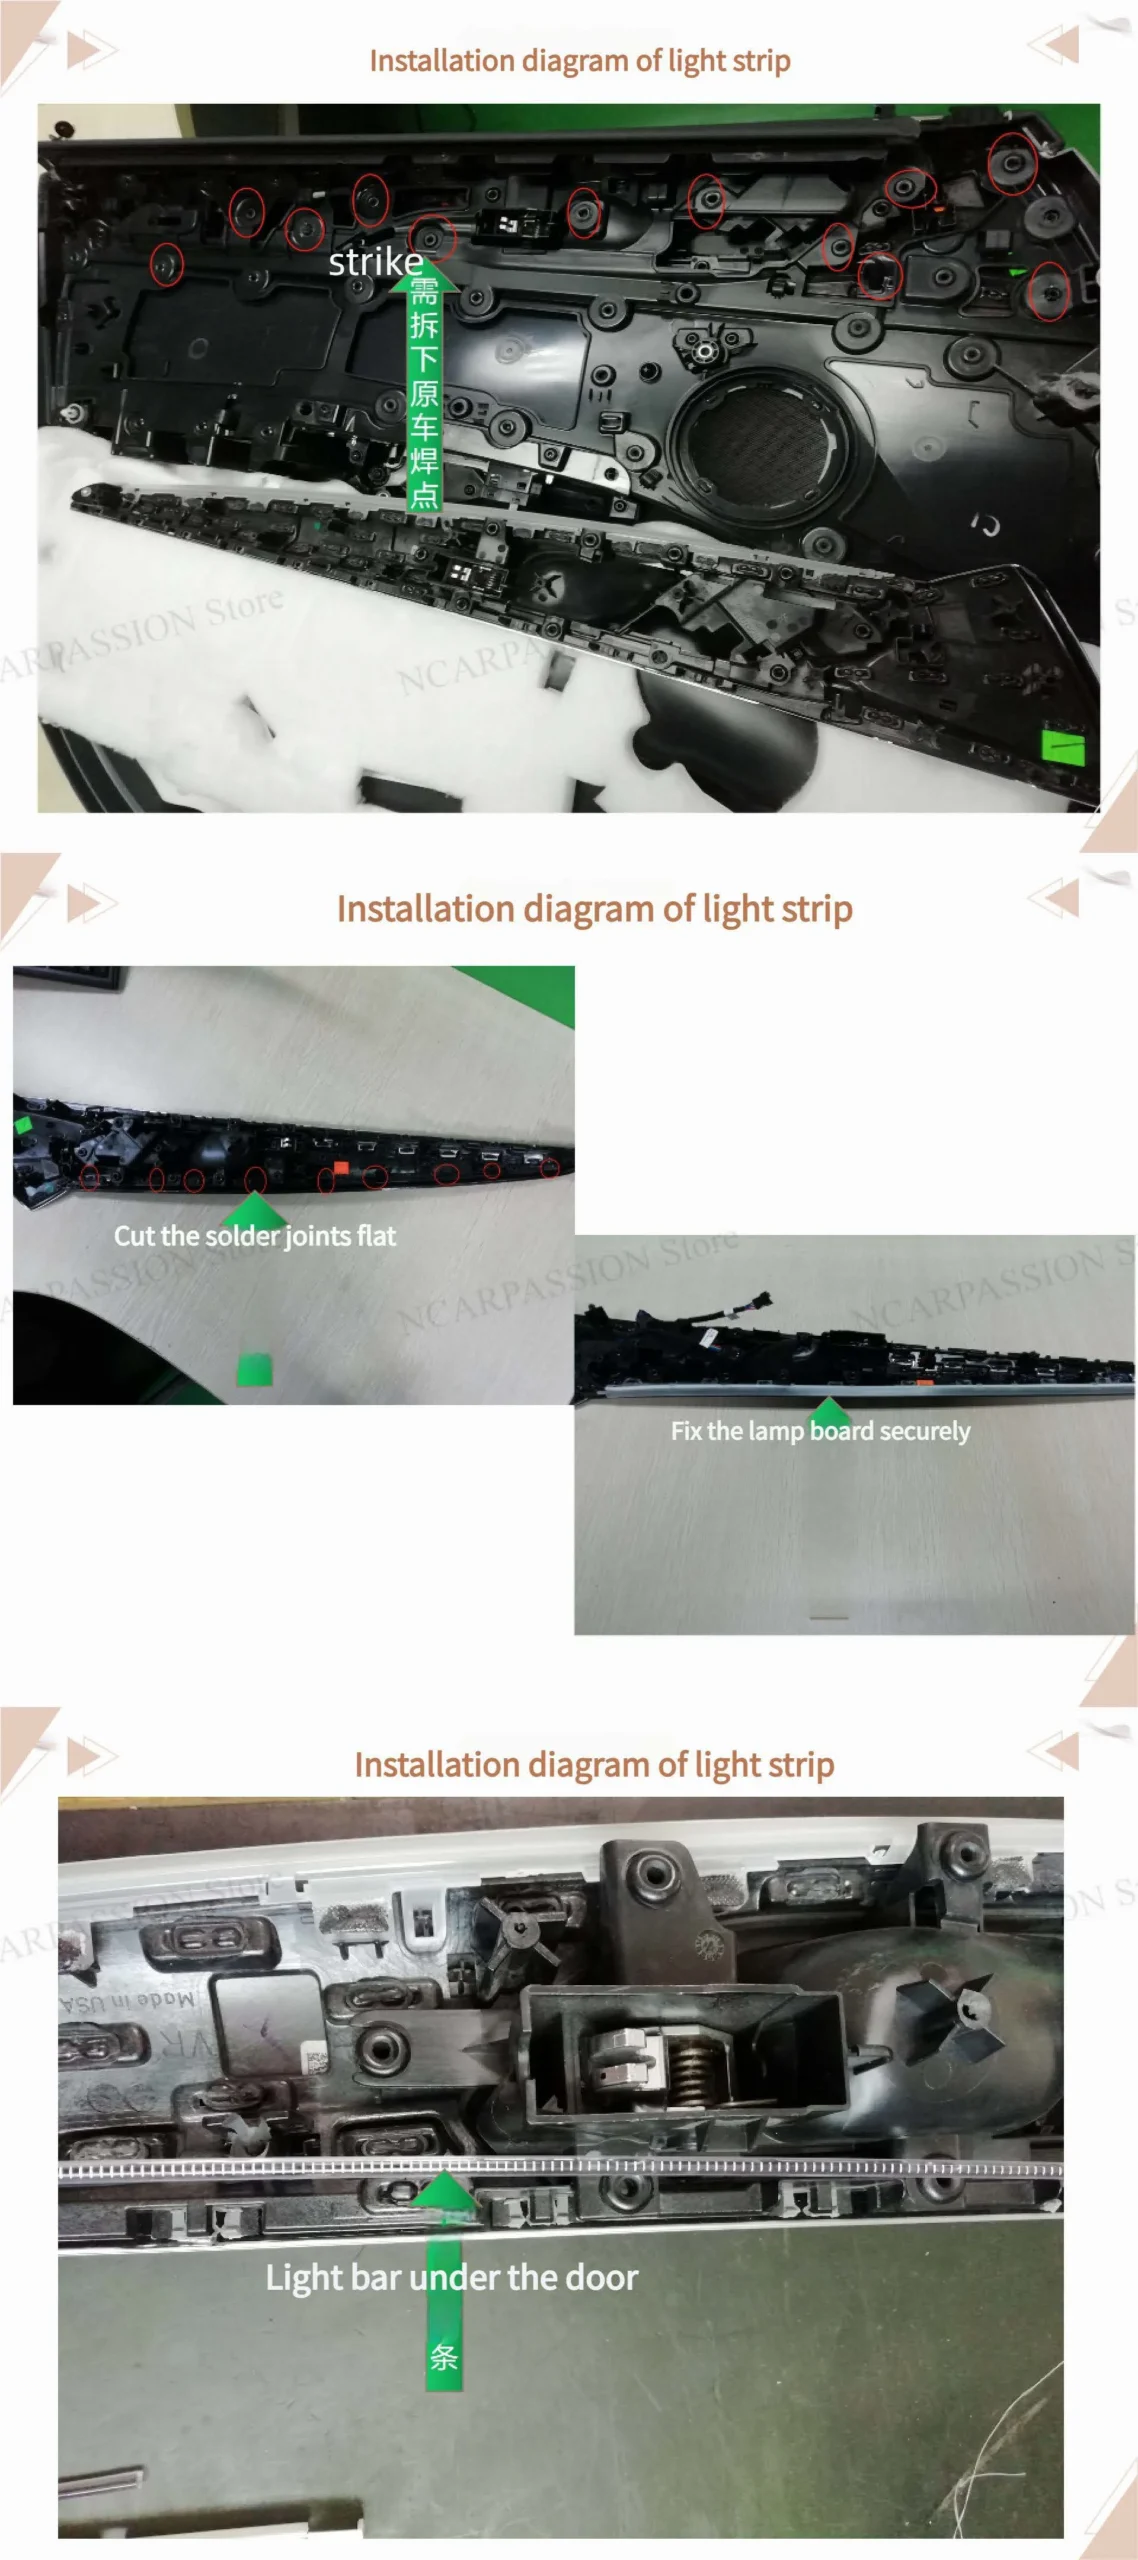
- Mount central control light strip; clean and secure solder joints.
- Install door light bars under trim; ensure strips sit flat.
- Check all doors and connectors before connecting to central harness.
- Program controller: map outputs, assign modes/colors/brightness.
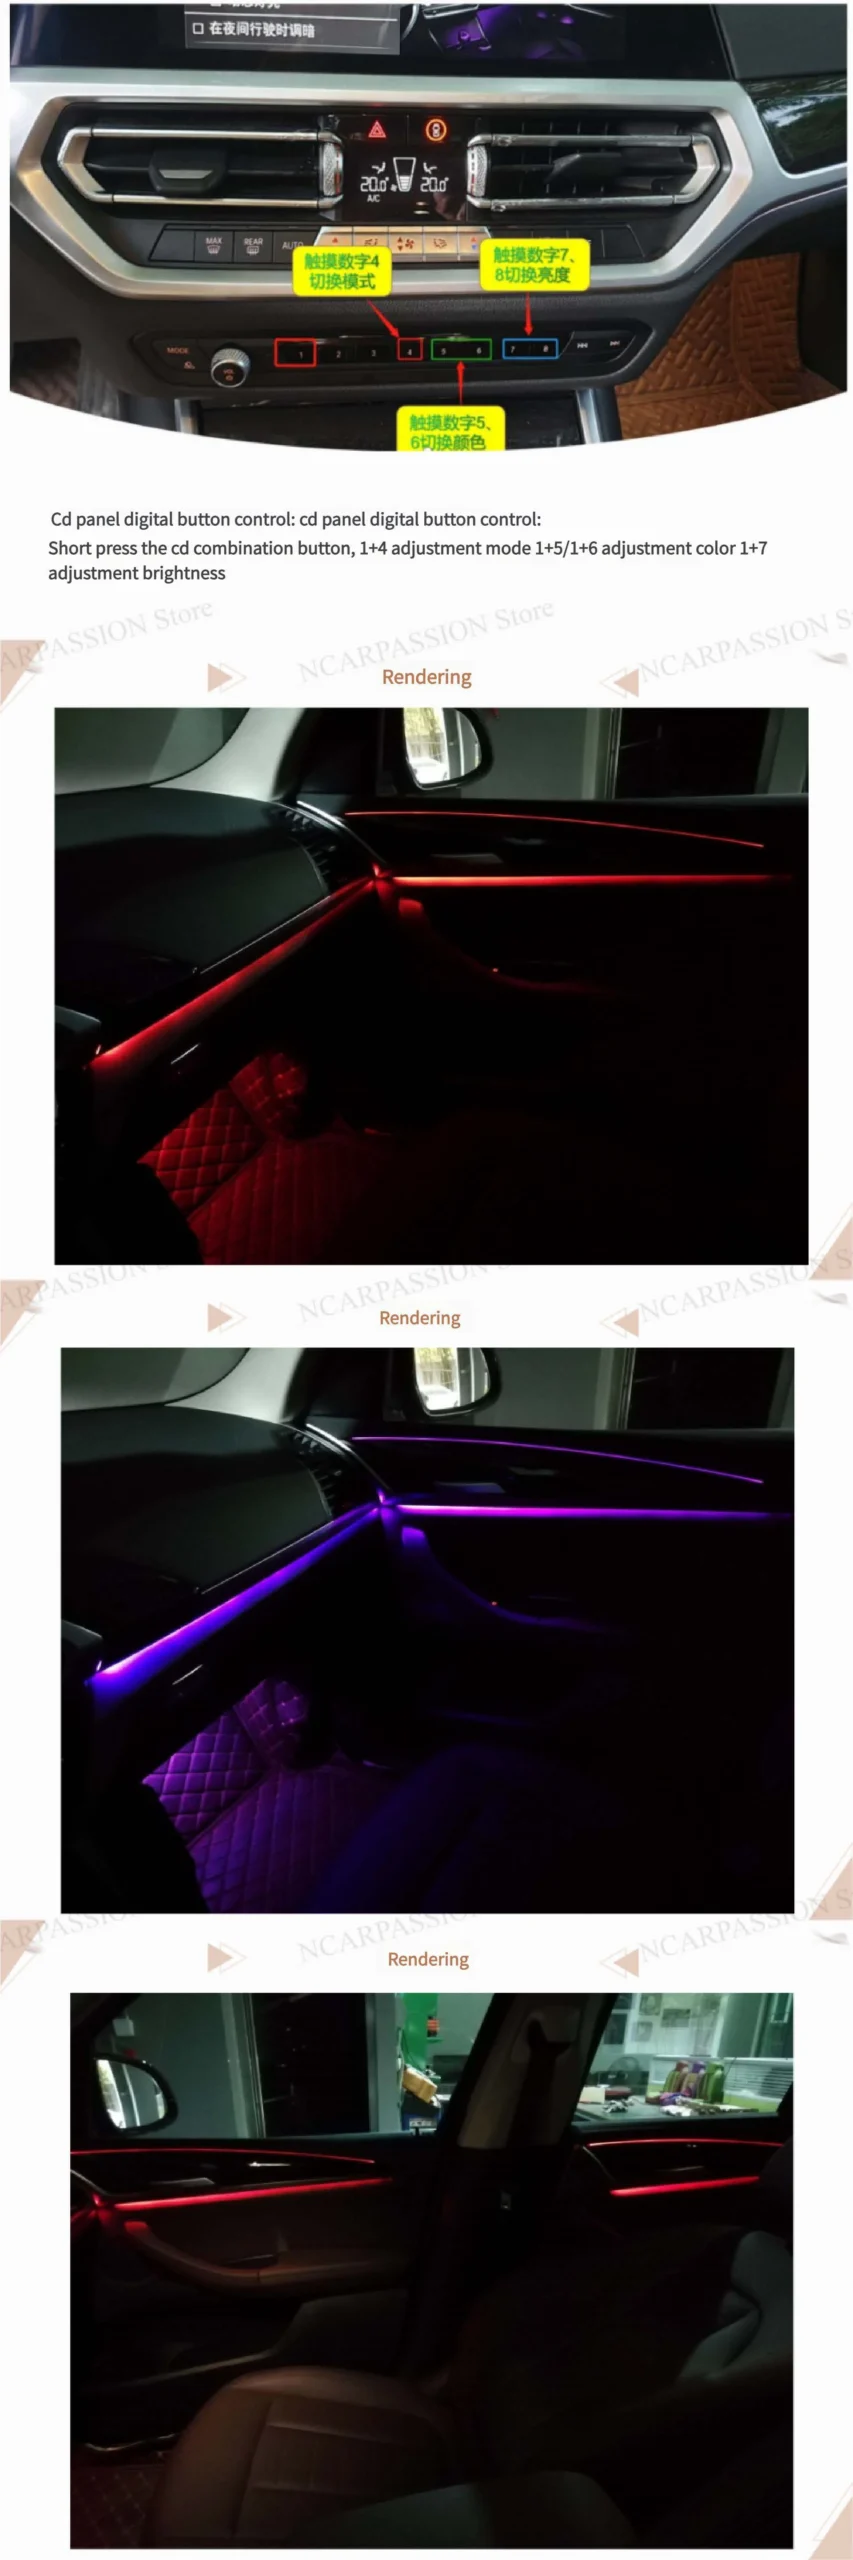
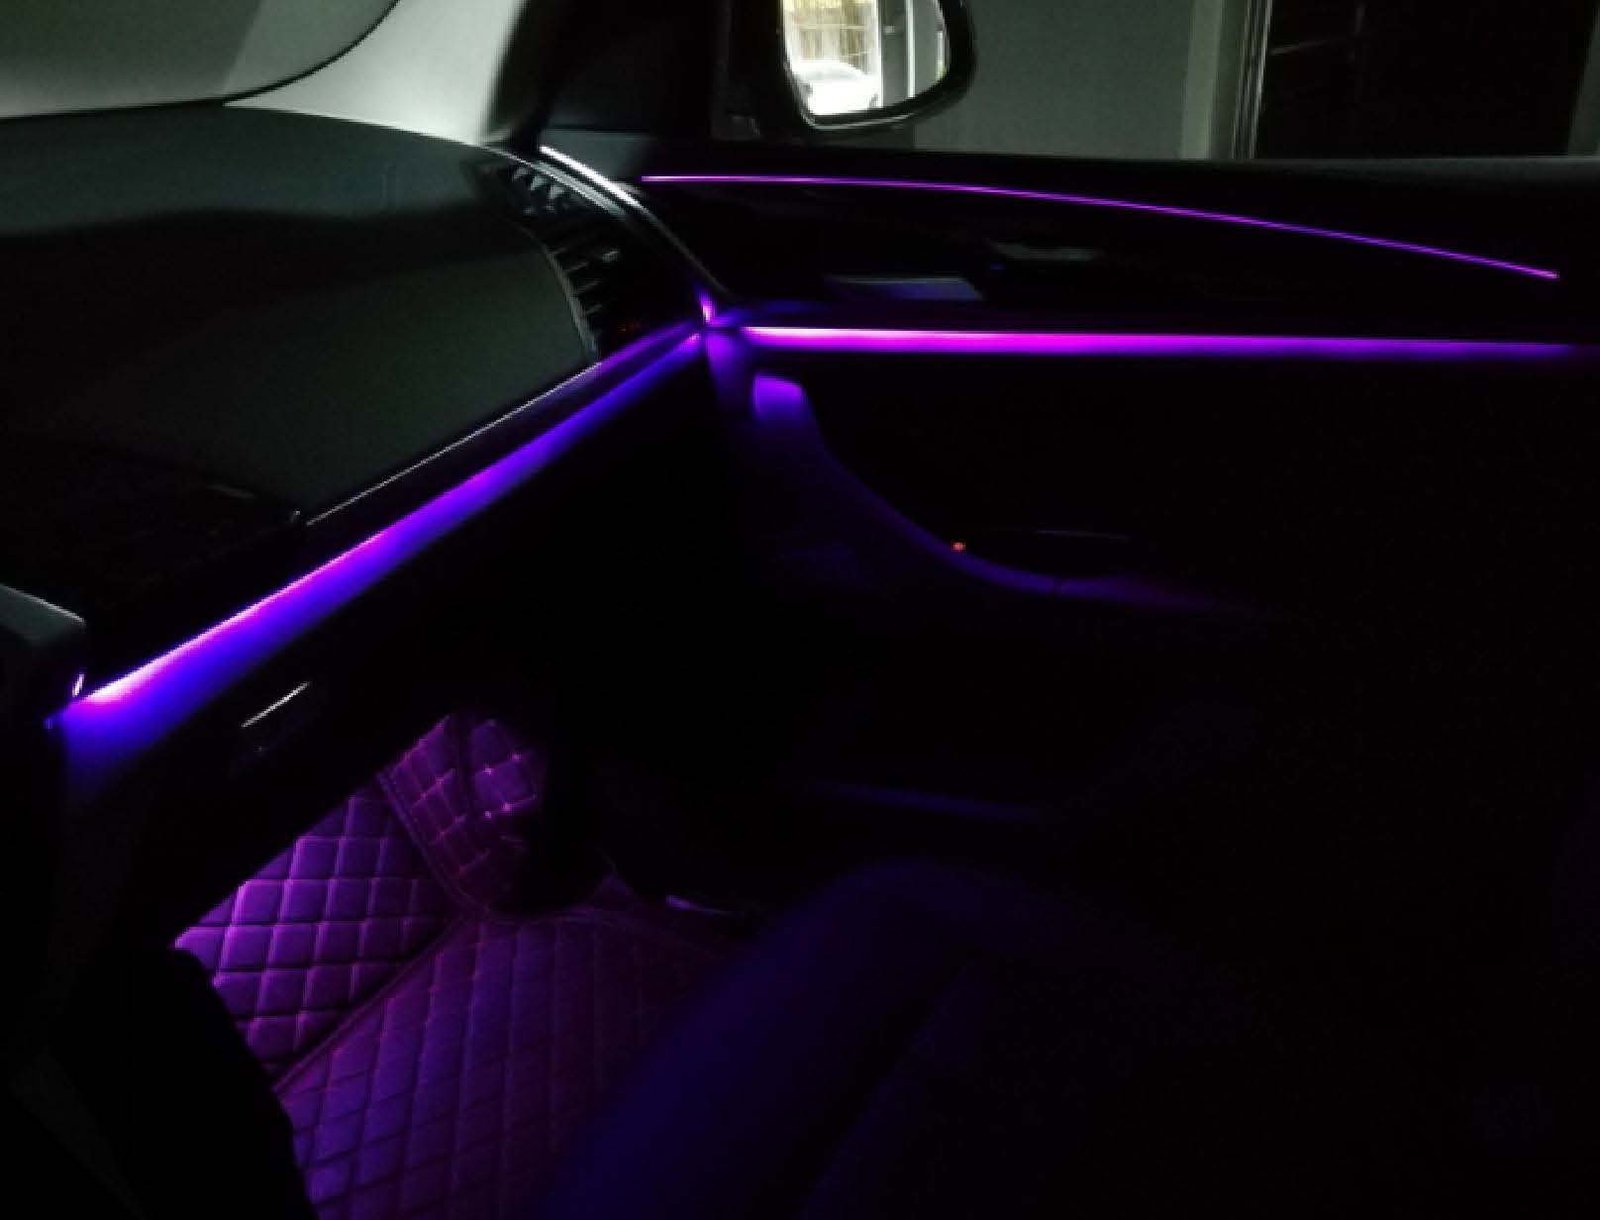
- Use CD-panel shortcuts: 1+4 mode, 1+5/1+6 color, 1+7 brightness.
- Test all doors, tidy wires, reinstall panels.
Pro Tips
- Insulate solder joints properly.
- Leave slack at hinges to prevent wire breakage.
- Use zip ties for strain relief.
- Test all modes & brightness; ensure CD-panel shortcuts work.
Troubleshooting
- Door lamp not lighting
- Controller unresponsive
- Intermittent flicker when door opens/closes
FAQ
- Coding required? Yes, for mapping outputs & shortcuts.
- Installation time? ~2–4 hours
- Soldering mandatory? Yes if boards require it; some kits are plug-and-play.
Resources
Article by incarpassion — last updated: 2025-11-25