-

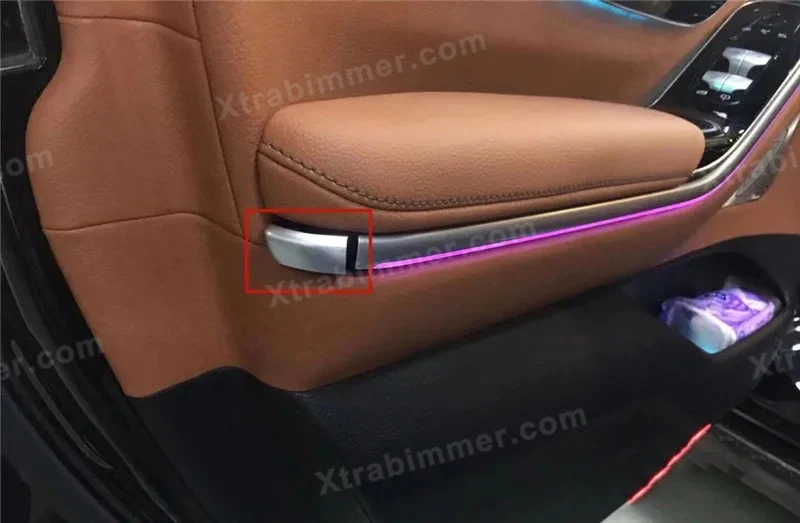
- 2, Pry out the front door leather armrest decoration cover_webp
-
- 3, Use T20 screw driver to remove screws which is fixing the armrest cover_webp
-
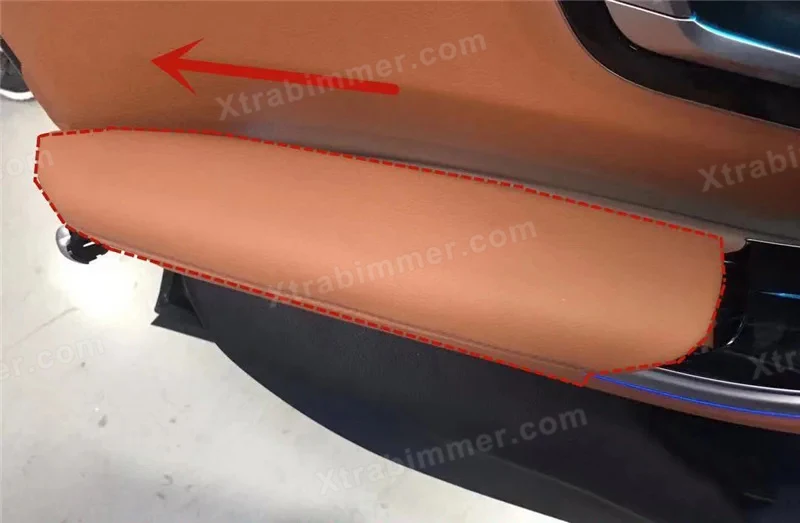
- 4, Push out the cover towards arrorow position_webp
-
- 5, Use T30 screw drivers to remove the screws fixing the door panels_webp
-
- 6, Pull out the the door panel_webp
-
- 7, Take the door panel out of the buckles_webp
-
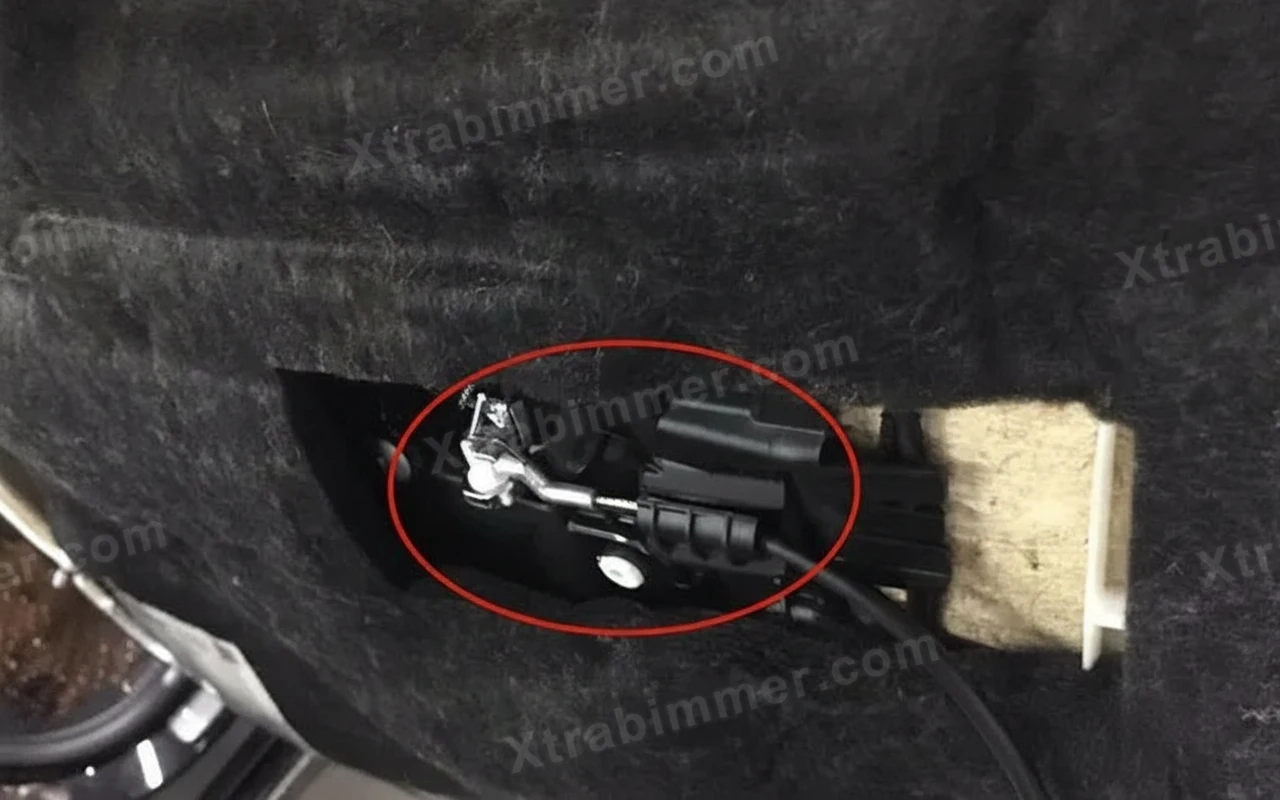
- 8, Disconnect cables between door panels and door_webp

-
- 9, Disconnect the lock pull cable_webp
-
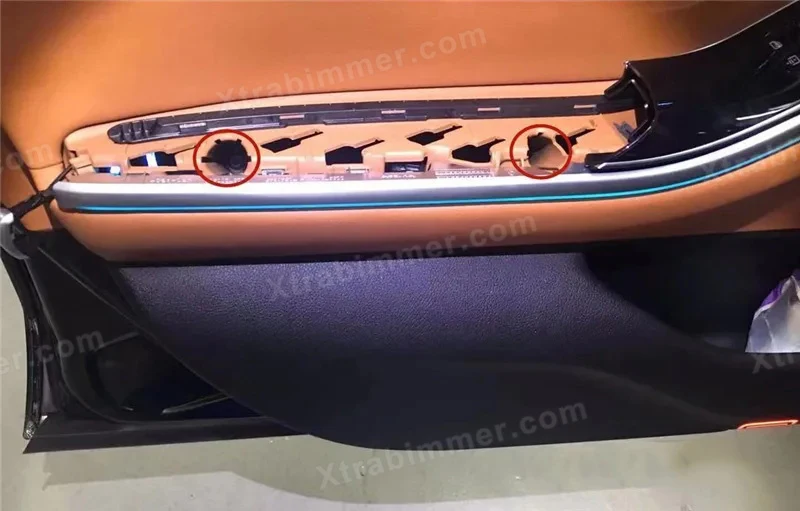
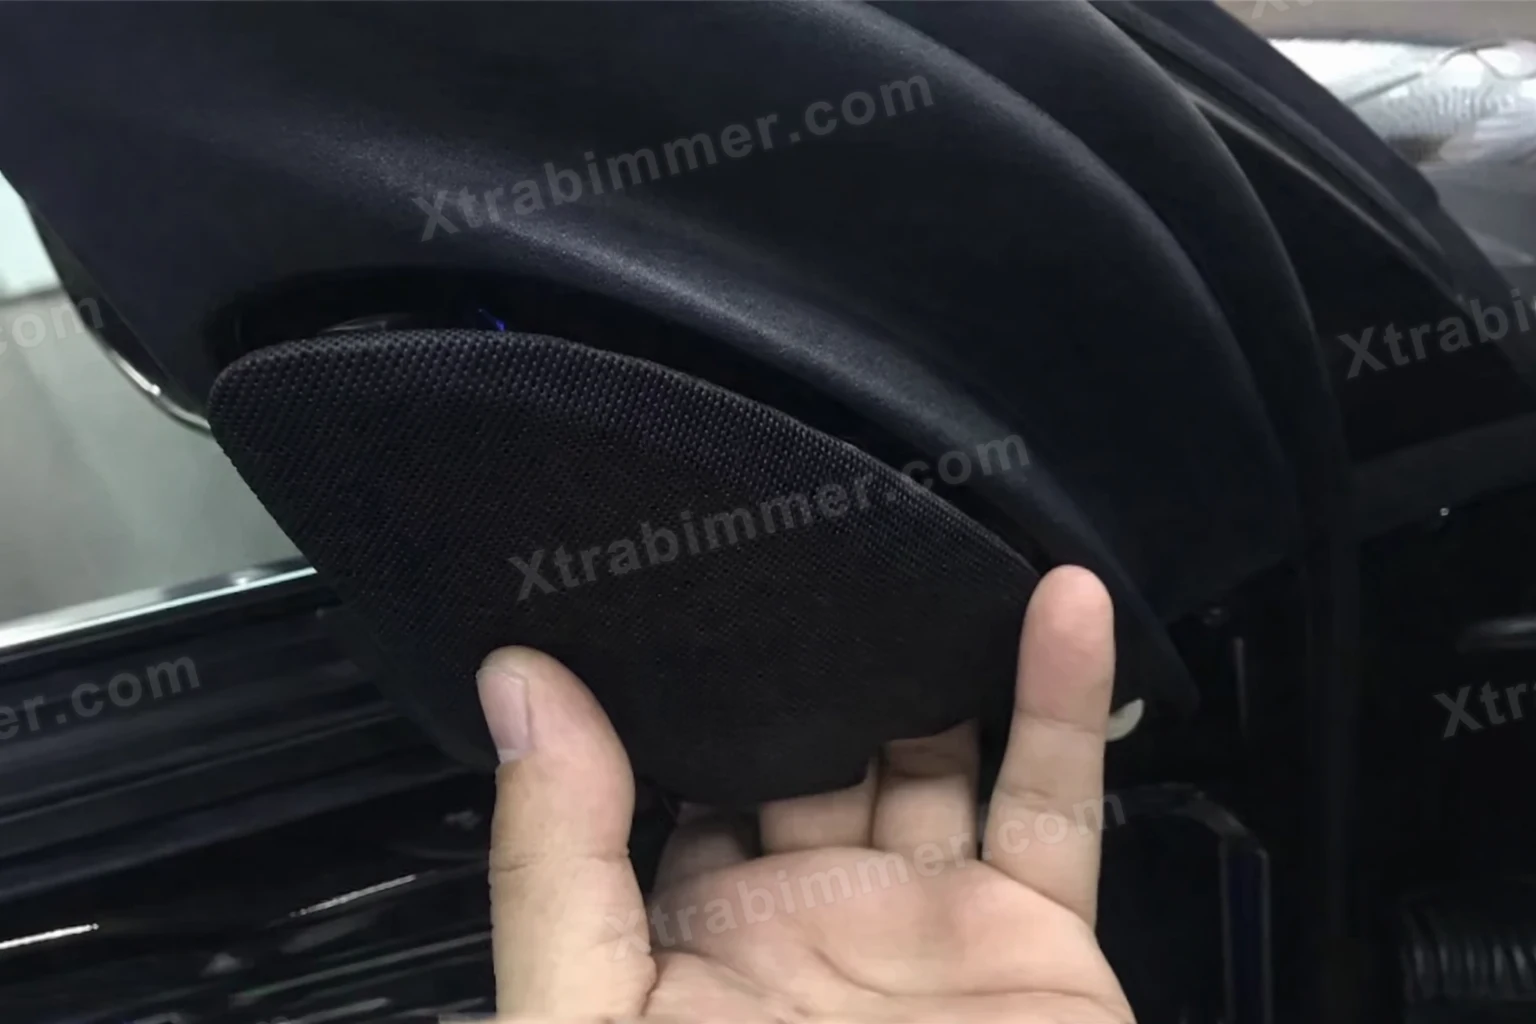
- 10, Take out original tweeter cover_webp
-
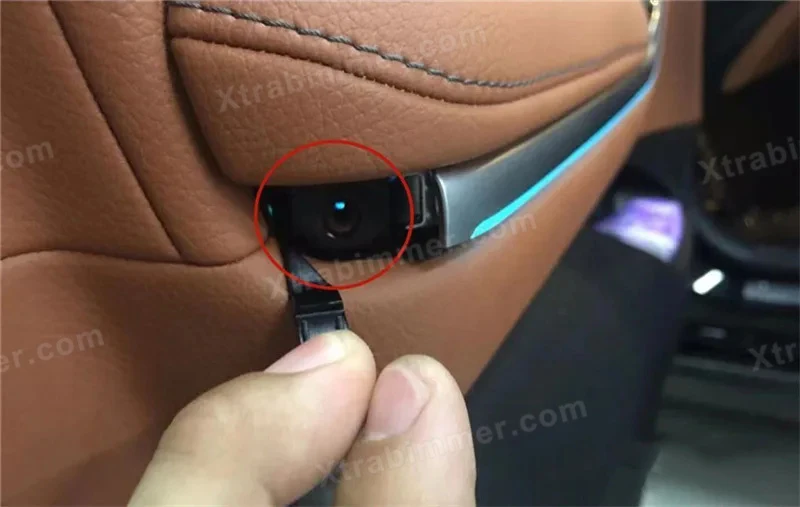
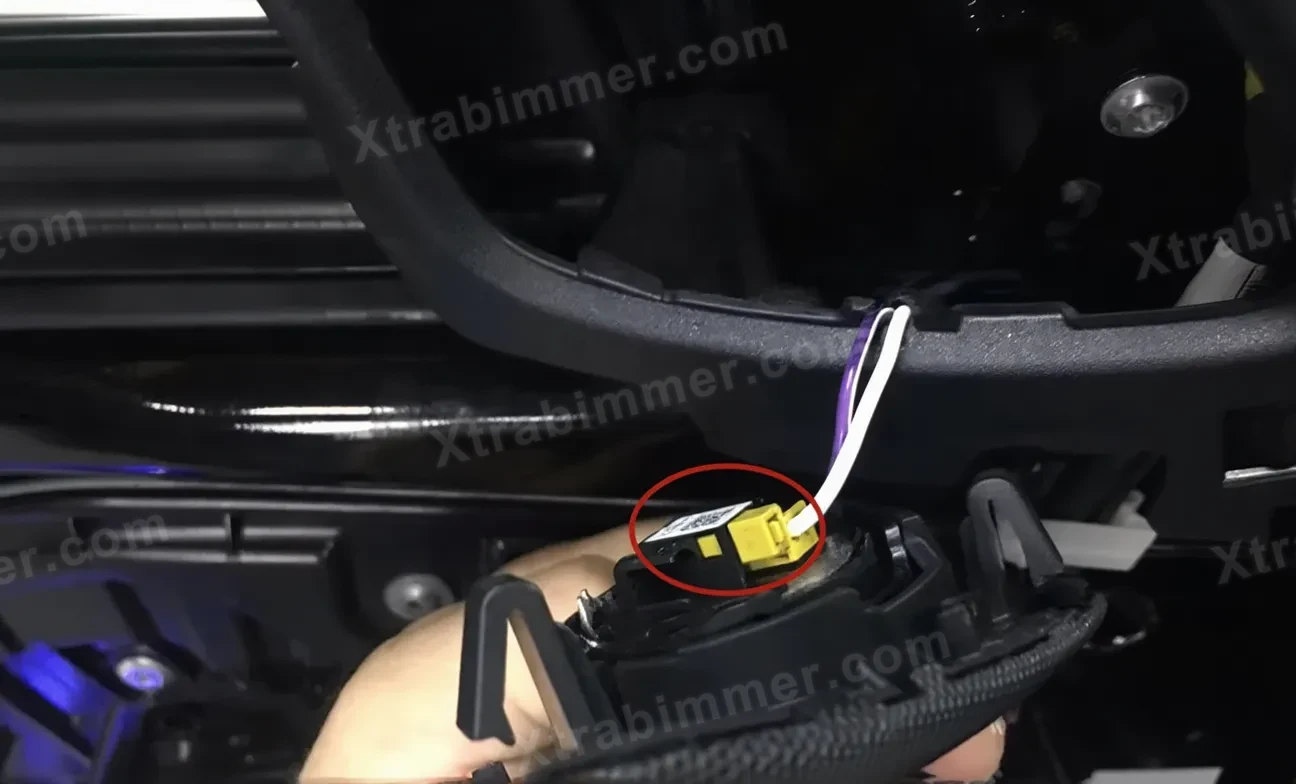
- 11, Disconnect original tweeter socket_webp
-
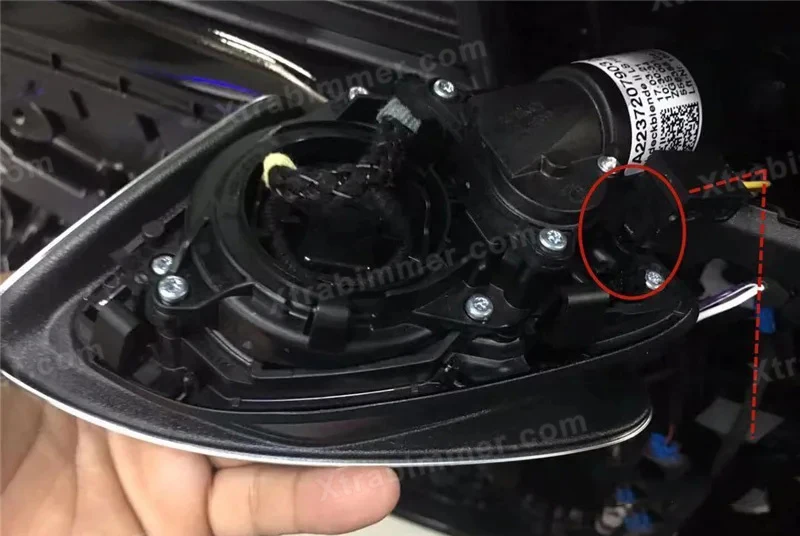
- 12, 4D tweeter ambient light installation position, put the cable as picture show_webp
-
- 13, Connect original tweeter socket to product audio socket (if original socket is too big, then cut a little to fit)_webp
-
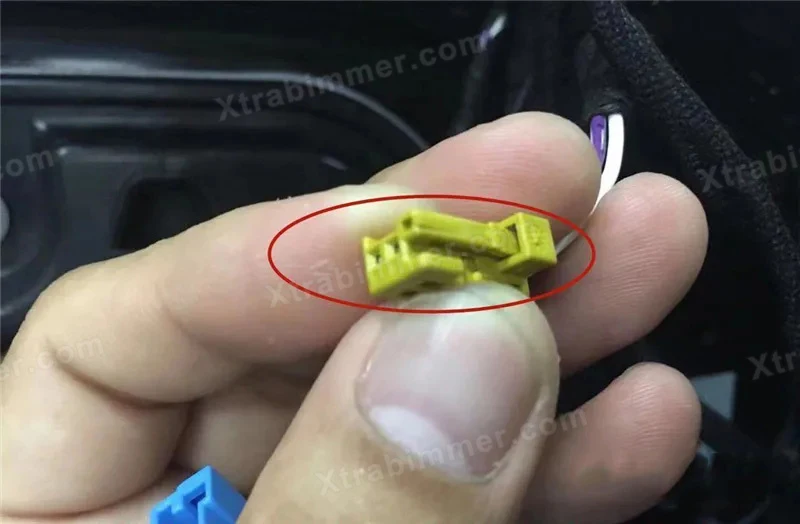
- 14, Product blue socket is speaker cable, purple socket is 4d tweeter module socket, black socket is ambient light socket_webp,The blue two-wire plug is for the speaker wire; the purple plug is for the rotating tweeter module; and the black three-wire plug is for the ambient light.

-
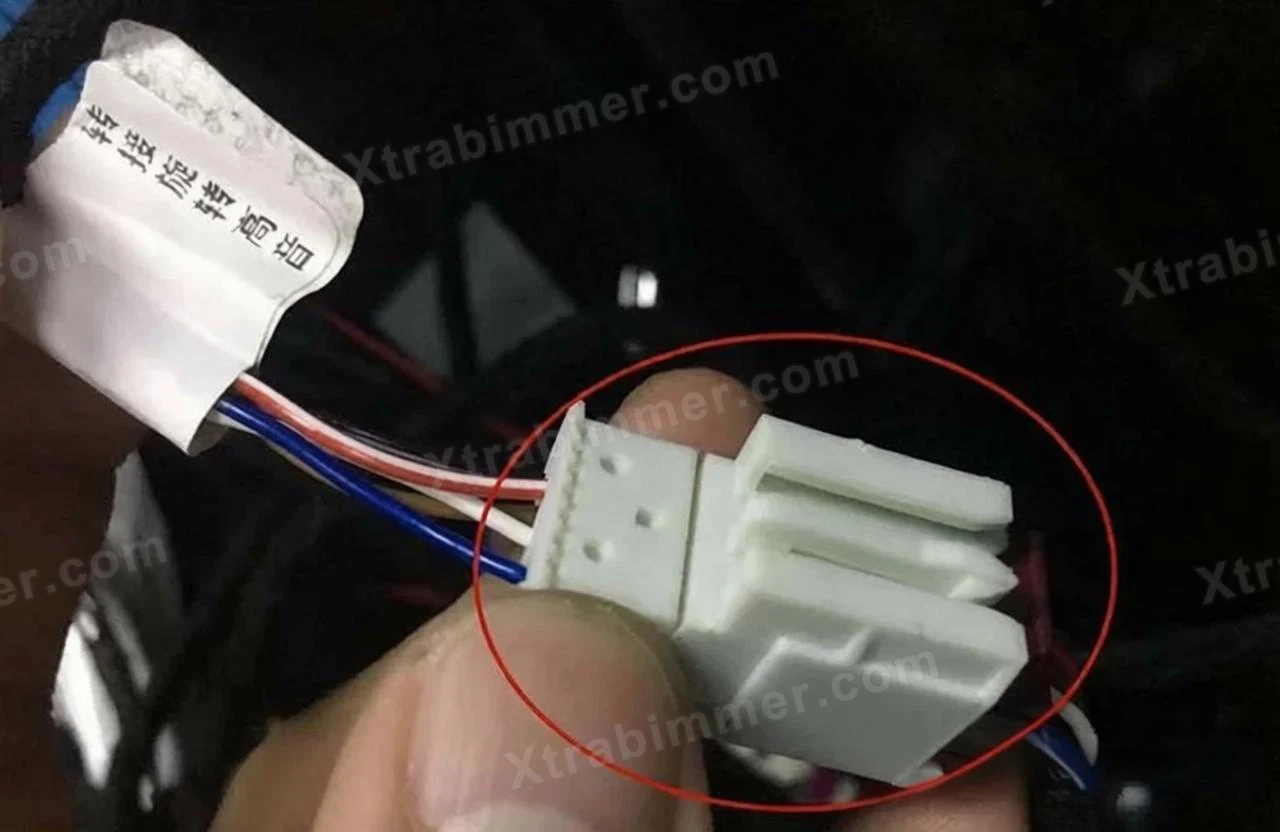
- 15, Product purple socket connects to less pin white socket_webp
-
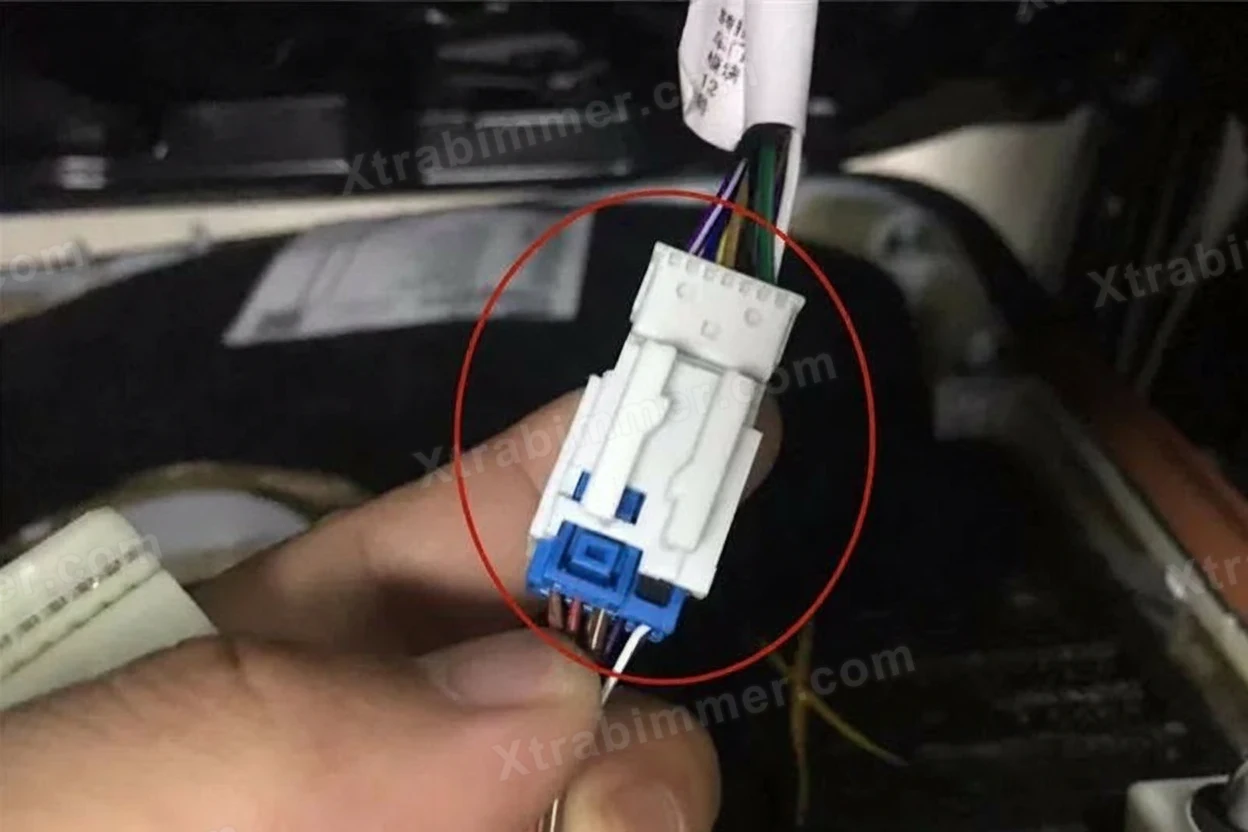
- 16, Original #12 blue socket convert to more pin white socket_webp
-
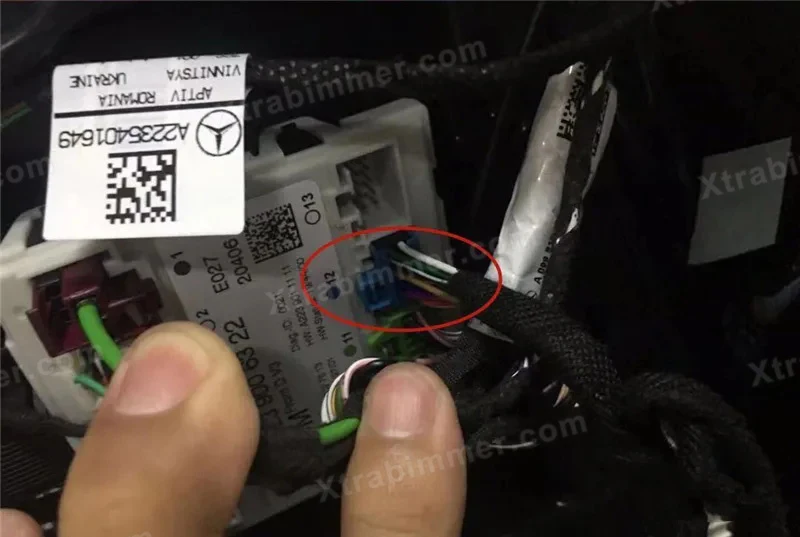
- 17, 4D tweeter blue socket convert to original door module #12 socket_webp
 Toyota